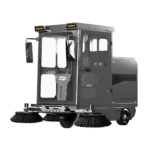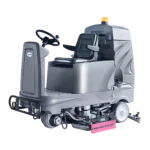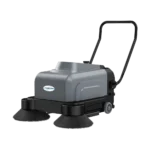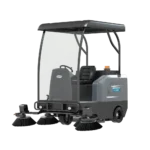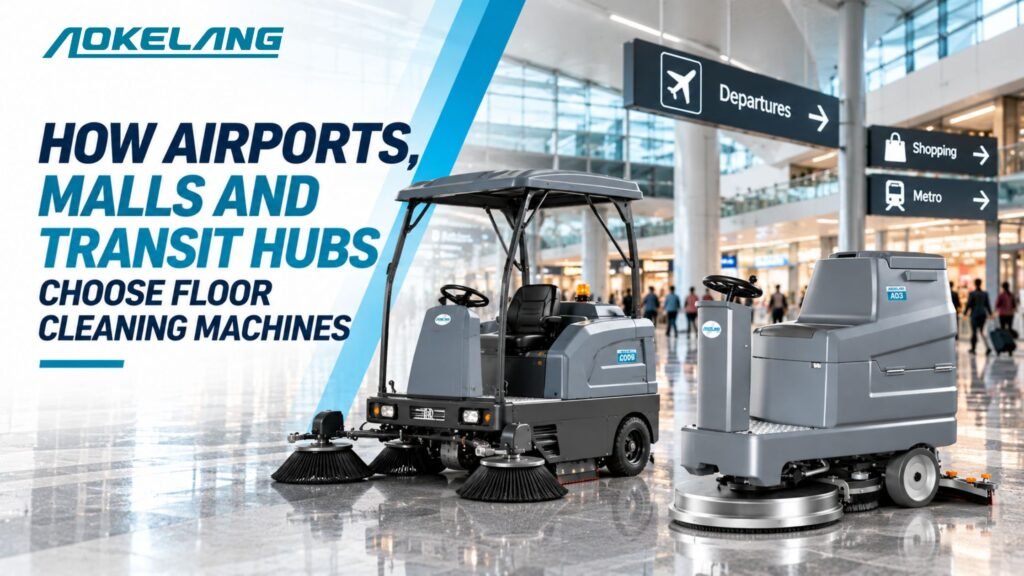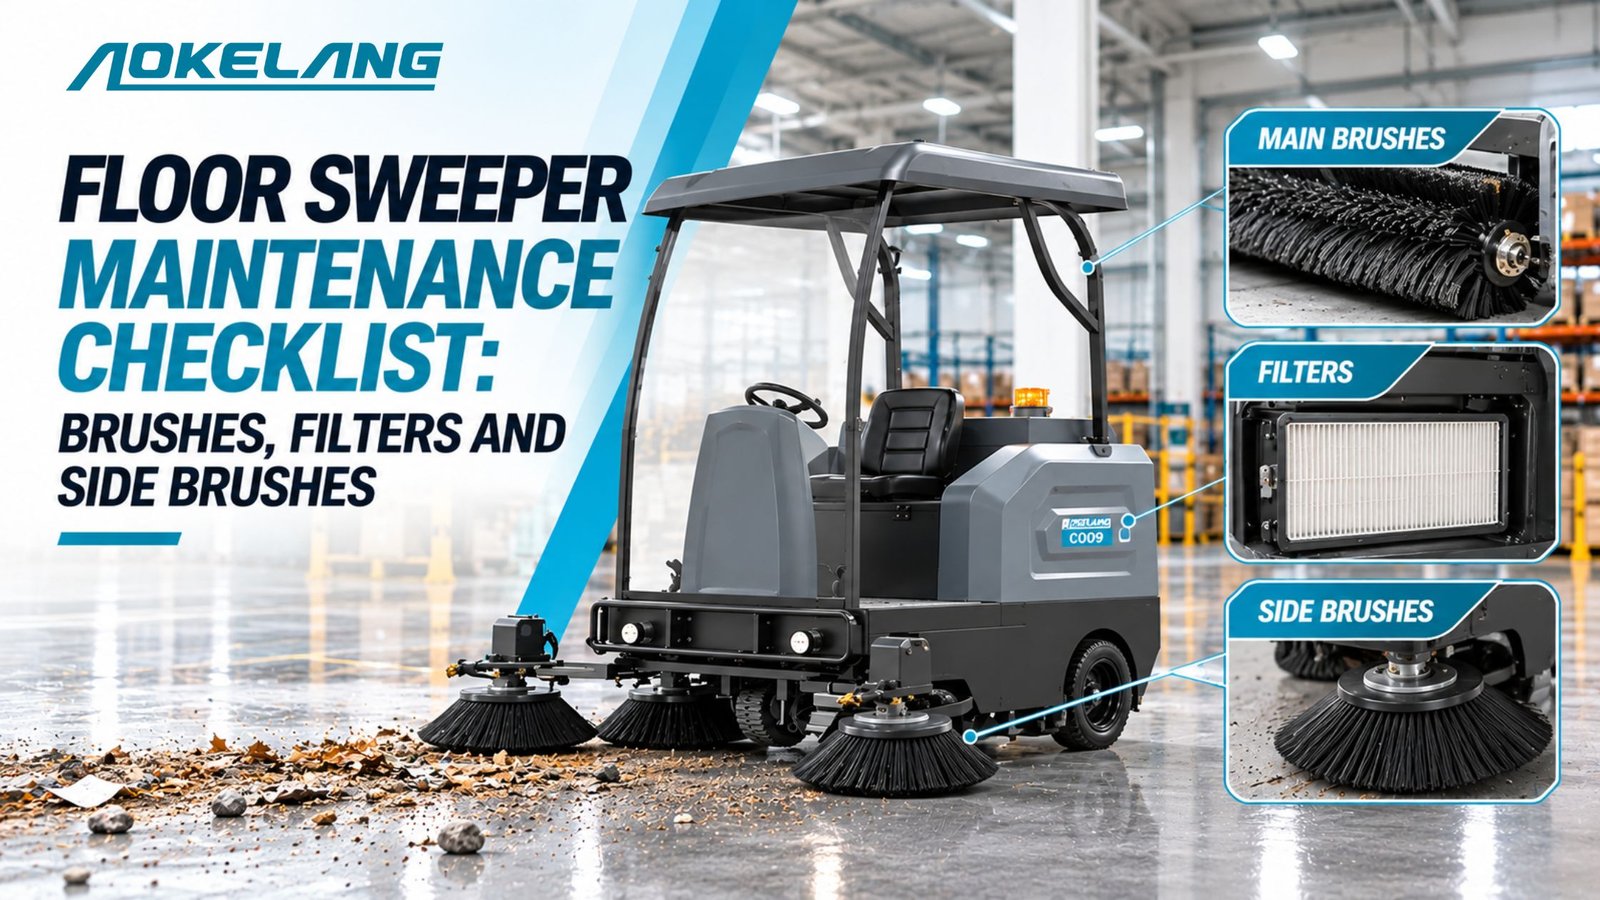
A floor sweeper maintenance checklist covers the parts that wear fastest: the main brush, the side brushes, the dust filter, the hopper, the skirts, the tyres and the battery. Do a quick check every shift, adjust and inspect each week, and do a full service every month.
The schedule below shows what to do and when.
Key takeaways
- Most sweeper problems come from three parts: the main brush, the side brushes and the dust filter. Check all three every shift.
- Shake the filter and empty the hopper after every use. A clogged filter cuts suction and throws dust back into the air.
- Test the main brush sweep pattern weekly. An uneven or too-narrow pattern means the brush needs adjusting, rotating or replacing.
- Pull out string, strapping and shrink wrap wrapped around the brushes before it builds up. It lifts the bristles off the floor and strains the motors.
- A short daily routine prevents most breakdowns. Weekly and monthly checks catch wear before it costs a shift.
Table of Contents
What should a floor sweeper maintenance checklist include?
| Part | Daily | Weekly | Monthly |
| Hopper | Empty and clear out debris | Check the seals and the hopper door | Check the lift mechanism, if one is fitted |
| Dust filter | Shake clean | Inspect for tears and seating | Replace if shaking no longer restores suction |
| Main brush | Remove wrapped debris | Test the sweep pattern; adjust if needed | Rotate end-for-end; check wear |
| Side brushes | Remove wrapped debris | Check height and bristle wear | Replace if worn short or splayed |
| Skirts and flaps | Look for damage | Check height and fit | Replace worn sections |
| Water spray | Refill; drain in cold weather | Clean nozzles | Clean the line strainer |
| Tyres | Remove wrapped debris | Check for cuts and wear | Check pressure, if pneumatic |
| Battery | Charge after use | Check terminals; check water level in flooded batteries | Clean terminals; check cables |
| Controls and safety | Test the brakes, horn and lights | Check that switches respond | Inspect wiring for chafing |
Your operator manual takes priority for service intervals, lubrication points and torque settings. Use this checklist alongside it.
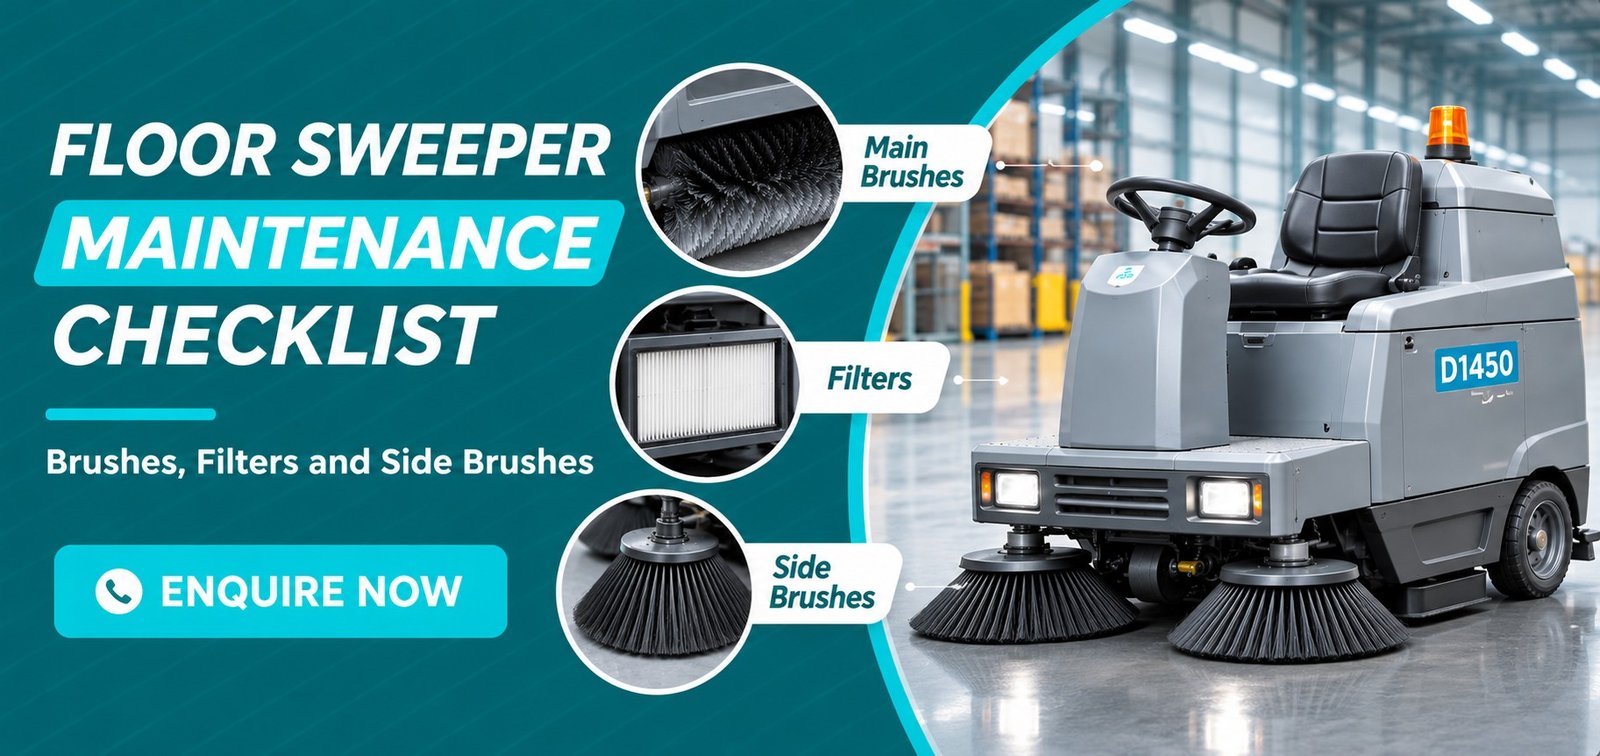
Daily checks: what should you do every shift?
These take about 10 to 15 minutes and prevent most breakdowns.
Before sweeping
- Check that the hopper is empty and the hopper door closes properly.
- Check that the dust filter is in place and not torn.
- Look under the machine for string, strapping or wire wrapped around the brushes and wheels.
- Fill the water tank, if you use spray.
- Check the battery gauge, and test the brakes, horn and lights.
After sweeping
- Run the filter shaker, then empty the hopper.
- Clear dust and debris from the hopper, the brush chamber and around the side brushes.
- Remove anything wrapped around the main brush and side brushes.
- Drain the water tank in freezing weather.
- Park on a level surface with the brushes raised, and put the battery on charge.
How do you check and adjust the main brush?
The main brush does most of the sweeping. It wears with every hour of use, and as it wears it touches the floor less.
Run a sweep pattern test
A sweep pattern test shows how much of the brush is touching the floor.
- Park the sweeper on a flat, dusty or lightly chalked section of smooth floor.
- Lower the main brush with the machine stationary and let it spin for about 15 to 30 seconds.
- Raise the brush and move the sweeper away.
- Look at the clean stripe the brush left on the floor.
What a good pattern looks like: an even stripe running the full length of the brush. On many machines it’s about 50 to 75 mm (2 to 3 inches) wide, but check your manual for the figure for your machine.
What a bad pattern tells you:
| What you see | What it means | What to do |
| Stripe too narrow | Brush set too high or worn | Lower the brush; replace it if it’s at its lowest setting |
| Stripe too wide | Brush set too low | Raise the brush to cut wear and motor load |
| Wider at one end | Brush not level, or worn unevenly | Level the brush, or rotate it end-for-end |
| Gaps in the stripe | Worn, missing or matted bristles | Clean the brush or replace it |
Too much brush contact doesn’t sweep better. It wears the bristles faster, drains the battery quicker and throws more dust.
Rotate the brush end-for-end
Main brushes often wear unevenly, because one side meets more debris or more wall edges than the other. Rotating the brush end-for-end once a month evens out the wear and makes it last longer. Check your manual to see whether your brush is reversible.
When to replace the main brush
Replace it when:
- you can’t get a good sweep pattern even at the lowest setting
- the bristles are worn short, matted or bent
- sections of bristles are missing
The Aokelang D1450, for example, uses a 700 mm main brush. When you order a replacement, match the length, diameter and bristle type to your machine.
How do you maintain the side brushes?
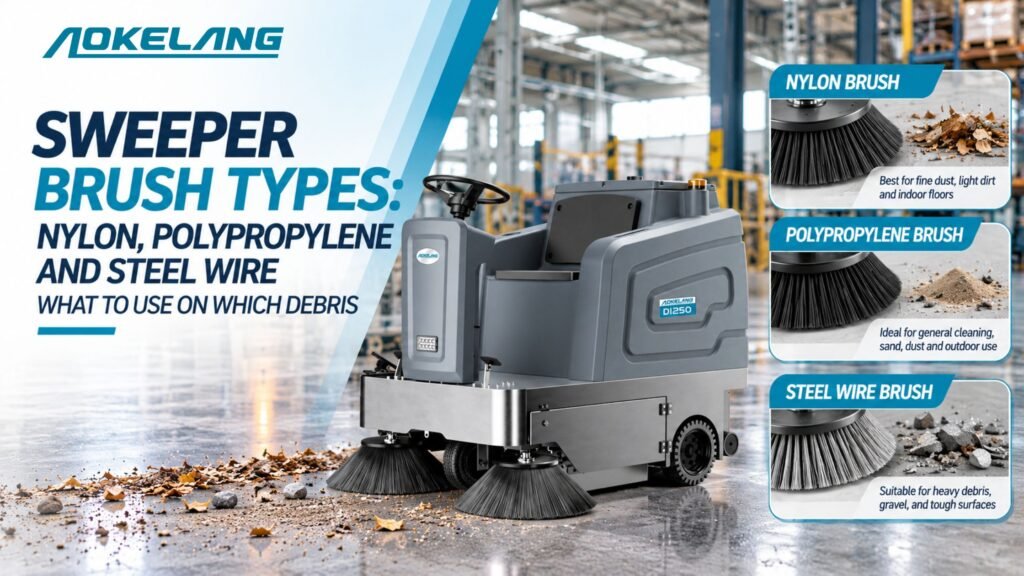
Side brushes reach along walls, racking and corners, and push debris into the path of the main brush. They wear quickly, because they work against edges and rough surfaces.
Check side brush height
A correctly set side brush touches the floor along a short arc at its front, where it sweeps debris inward.
- Too high: debris at the edges gets left behind.
- Too low: the bristles flatten and bend, wear quickly, and flick dust and debris outward instead of inward.
Adjust the side brush height as the bristles wear, using the adjustment on the brush arm.
Clean wrapped debris
String, strapping and wire wrap around the side brush hub quickly. This lifts the bristles off the floor and strains the side brush motor. Remove it daily.
When to replace side brushes
Replace a side brush when:
- the bristles are too short to reach the floor at the lowest setting
- the bristles are splayed permanently outward
- sections of bristles are missing or broken
On machines with more than one side brush, check each one separately, because they rarely wear at the same rate. The Aokelang D1850, for example, uses four 500 mm side brushes.
How do you look after the dust filter?
The filter traps fine dust before the air leaves the machine. When it clogs, airflow drops, suction falls, and dust escapes from the front and sides.
Every shift: Run the filter shaker before you empty the hopper, and again at the end of the shift. In dusty areas, also shake the filter every 10 to 15 minutes while sweeping.
Every week: Remove the filter and inspect it. Look for:
- tears or holes in the filter material
- a damaged or missing seal around the edge
- dampness or caked dust that the shaker can’t remove
When to replace the filter: when shaking no longer restores suction, or when it’s torn, soaked or misshapen.
Washable filters can be rinsed and must be fully dry before you refit them. Paper filters can’t be washed.
For more on filter types, filter shakers and water spray, see our guide to floor sweeper dust control.
What about the hopper, skirts and water spray?
Hopper
- Empty the hopper after every use, and before it’s completely full during a shift. An overfull hopper blocks airflow and throws debris back onto the floor.
- Check the hopper door seal weekly. A gap lets dust escape.
- On machines with a hydraulic high dump, check the lift for leaks and smooth movement every month.
The D1450 has a 120 L debris container.
Skirts and flaps
Rubber skirts seal the brush chamber so the vacuum can hold dust inside. Check them weekly for tears, curling and wear. Adjust their height as they wear, and replace any section that leaves a gap.
Water spray system
If your sweeper has a water spray, as the D1450 does with its 90 L tank:
- Clean the spray nozzles weekly. Dust and mineral deposits block them.
- Clean the line strainer, if one is fitted, every month.
- Drain the tank and lines before freezing weather.
How do you maintain the battery and tyres?
Battery
The battery affects everything else. A weak battery slows the brushes and the vacuum fan, so the machine picks up less.
- Charge fully after every use, and let the charge cycle finish.
- Check the water level in flooded lead-acid batteries weekly, and top up with distilled water after charging.
- Clean the terminals and check the cables monthly.
- Don’t store the sweeper with a flat battery.
The same habits apply to scrubbers and sweepers. Our guide to battery powered floor scrubbers compares lead-acid and lithium.
Tyres
- Remove wrapped string and strapping from the axles daily.
- Check for cuts, flat spots and uneven wear weekly.
- Check the pressure monthly on pneumatic tyres.
Worn or underinflated tyres change the brush height and make the sweep pattern uneven.
Which problems point to which maintenance?
| Problem | Most likely cause | Check |
| Debris left in strips | Main brush worn or set too high | Sweep pattern test |
| Debris left along walls | Side brush too high or worn | Side brush height and wear |
| Dust cloud while sweeping | Filter clogged, or no water spray | Filter and spray |
| Debris thrown out at the front | Hopper full, or front skirt damaged | Hopper and skirts |
| Dust trail behind the machine | Rear or side skirts worn | Skirts |
| Machine slows or runs for less time | Battery weak, or brush set too low | Battery and sweep pattern |
| Squealing or burning smell from a brush | Wrapped debris or a jammed brush | Remove debris and check brush rotation |
Printable floor sweeper maintenance checklist
Daily
- Hopper emptied and cleaned
- Filter shaken
- Debris removed from the main brush, side brushes and tyres
- Water tank filled (or drained in freezing weather)
- Brakes, horn and lights tested
- Battery put on charge
Weekly
- Sweep pattern test done and brush adjusted
- Side brush height checked and adjusted
- Filter removed and inspected
- Skirts checked for wear and height
- Spray nozzles cleaned
- Battery terminals and water level checked
- Tyres checked for cuts and wear
Monthly
- Main brush rotated end-for-end
- Brushes, filter and skirts replaced where worn
- Spray line strainer cleaned
- Hopper lift checked, if fitted
- Battery cables checked and terminals cleaned
- Wiring checked for chafing
- Lubrication done as the manual specifies
When should you order replacement parts?
Keep a spare main brush, a set of side brushes and a spare filter on hand. A worn brush or a torn filter then becomes a 20-minute fix instead of days of poor sweeping while you wait for parts.
When you order, give the machine model and the part. Aokelang stocks replacement brushes, filters and batteries and ships parts internationally.
If you’re choosing a new sweeper, our industrial floor sweeper buying guide covers width, hopper size and power source.
Frequently asked questions
How often should a floor sweeper be serviced?
Do quick checks every shift, adjust the brushes and inspect parts weekly, and complete a full service monthly. Follow the operator manual for anything that depends on running hours, such as lubrication.
How long does a sweeper main brush last?
It depends on the floor surface, the type of debris and how well the brush is adjusted. Rough concrete and outdoor grit wear brushes faster than smooth indoor floors. Rotating the brush monthly and keeping it at the right height make it last much longer.
Why does my sweeper leave debris along the walls?
The side brush is usually set too high or worn too short. Check its height and bristle length, and remove any string wrapped around the hub.
Can I wash a sweeper filter?
Only if it’s a washable type, such as many polyester filters. Rinse it gently and let it dry completely before refitting. Paper filters can’t be washed and should be replaced when shaking no longer cleans them.