Operator manuals are 40 pages of safety warnings, exploded parts diagrams, and warranty terms buried in legalese. Somewhere around page 27, there’s a paragraph about actually using the machine. By that point, your operator has already turned it on, pushed it across the floor, and wondered why there’s a lake of dirty water behind them.
This guide is different. It covers what your operator manual should have led with: how to actually use a floor scrubber, step by step, from the moment you roll it out of storage to the moment you put it away. Walk-behind and ride-on, covered separately. Plus, the mistakes every new operator makes and how to avoid them.
If you’re training someone for the first time, send them this article. If you’ve been using a scrubber for years and your floors still have streaks, read Section 6. If you’re considering buying a scrubber and want to see how simple they actually are to operate, read the whole thing about How to Use a Floor Scrubber.
Table of Contents
Don’t own a scrubber yet? Start with our complete buying guide.” → Ultimate Guide to Floor Scrubbers
Before You Turn It On: Pre-Operation Checklist
This takes 5 minutes. Skipping it leads to mid-job breakdowns, streaky floors, and premature part wear. Do it every time.
Check the battery
Look at the battery gauge on the control panel. If it’s below 30%, charge it before starting. Running a lead-acid battery below 20% damages the cells permanently. If it’s lithium, you have more flexibility, but starting a shift at 25% is asking for a mid-floor shutdown.
Inspect the squeegee blades
Flip the machine around (or walk to the back) and look at the squeegee rubber. Run your finger along both blades — front and rear. Feel for nicks, tears, chunks missing, or embedded debris (staples, gravel, metal shavings). A damaged squeegee blade is the #1 reason floors stay wet after scrubbing. Replace or flip the blade if it’s worn. This is a 2-minute check that prevents the most common complaint in floor scrubbing.
Check the brush or pad
Remove the brush or pad from the scrub deck. Is it worn past the wear indicator line? Are the bristles less than half their original length? Is the pad shredding? If yes, replace it. Cleaning with a worn brush is like sweeping with a bald broo, you go through the motions without results.
Fill the solution tank
Fill with clean water and add detergent at the manufacturer’s recommended dilution ratio. This ratio matters more than most operators think. More detergent does NOT mean more clean. It means more foam, which overwhelms the recovery system, leaves soap residue on the floor, and creates a slip hazard worse than the dirt you were trying to remove.
SOURCE: Excess detergent causes recovery system failure — manufacturer guidelines, ISSA
Also read – walk behind floor scrubber vs ride on
The right detergent for the job:
- Daily general cleaning: pH-neutral floor scrubber detergent (low-foam formula)
- Greasy or oily floors (factories, docks): Compatible degreasing agent at recommended dilution
- Healthcare/food service: Hospital-grade or food-safe disinfecting detergent
- NEVER use: Bleach (damages seals, voids warranty), dish soap (too foamy), general-purpose household cleaners
Check the recovery tank
It should be empty and clean after the last use. If it’s not, if someone left dirty water sitting overnight, drain it now, rinse it, and have a conversation with whoever used the machine last. Stagnant recovery tank water breeds bacteria and creates a smell that will make the next operator question their life choices.
Do a quick floor scan
Walk the area you’re about to clean. Look for large debris: pallet fragments, shrink wrap, banding scraps, bolts, anything bigger than a coin. Pick it up or sweep it first. Running a scrubber over large debris clogs the squeegee, wraps around the brush, and can damage the scrub deck.
Why you should always sweep before scrubbing.” → Sweeper and Scrubber
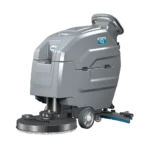
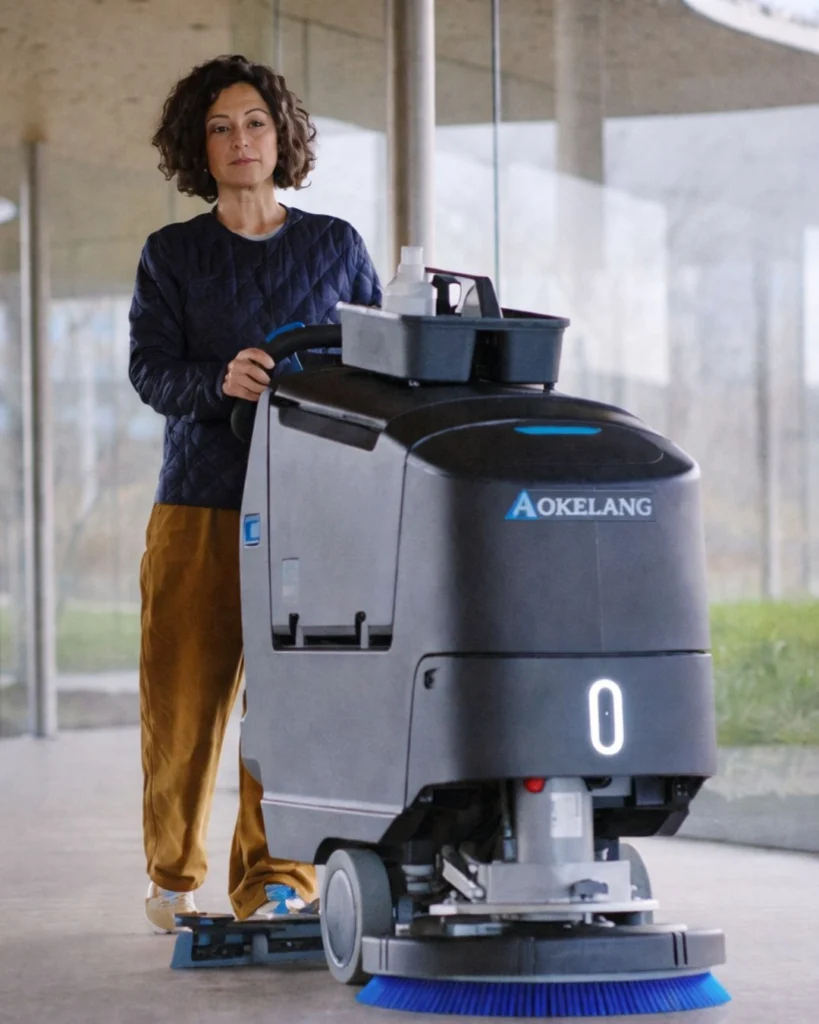
How to Operate a Walk-Behind Floor Scrubber
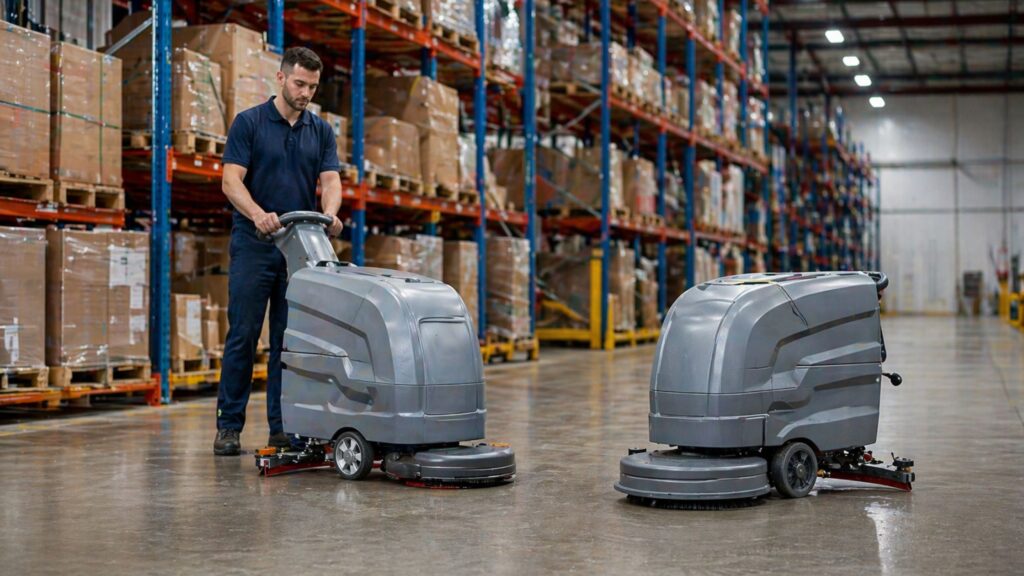
Walk-behind scrubbers are the simplest cleaning machines to operate. If you can push a shopping cart, you can use a walk-behind scrubber. Here’s the process:
Step 1: Position the machine at the starting point
Start at the farthest point from your exit so you’re always moving toward the door, not walking back across a wet floor. In a rectangular room, start in the far corner. In a warehouse aisle, start at one end.
Step 2: Lower the brush and turn on the solution flow
Most machines have a lever or button to lower the scrub deck and engage the brush. A separate switch activates the solution flow (water + detergent dispensing). Lower the brush first, then start the solution. You’ll hear the brush spinning and see a thin stream of solution hitting the floor ahead of it.
Adjust the solution flow rate using the control dial. Start at medium. More solution isn’t always better — too much water overwhelms the squeegee and recovery system. Too little means the brush is scrubbing dry, which causes premature pad wear and poor cleaning. You want the floor wet but not flooded.
Step 3: Lower the squeegee and turn on the vacuum
The squeegee drops behind the machine to channel dirty water. The vacuum motor sucks it up into the recovery tank. Both must be engaged before you start moving. Listen for the vacuum. You should hear strong, consistent suction. If it sounds weak, check the filter screen before proceeding.
Step 4: Start walking
Push (pad-assist) or walk behind (traction-drive) the machine at a steady pace. Don’t rush. A floor scrubber is not a race car. The brush needs time in contact with the floor to break up grime. Walking too fast means the brush skims the surface without really cleaning, and the squeegee can’t channel the water properly.
Good pace: About the speed of a casual walk, roughly 2–3 mph. Most traction-drive machines have a speed dial. Set it to 60–70% for daily cleaning. Save 100% for lightly soiled floors.
Step 5: Overlap your passes
This is the technique that separates a clean floor from a streaky floor. Each pass should overlap the previous one by 2–4 inches. If you leave gaps between passes, the squeegee can’t form a continuous seal, and dirty water escapes into the uncleaned strip. Those strips dry into visible streaks.
Think of it like mowing a lawn: each row overlaps the last by a few inches, so you don’t miss any grass. Same principle, different machine.
Step 6: Turn at the end of each pass
At the end of each row, make a U-turn to start the next pass. Lift the squeegee slightly during the turn to prevent dragging it sideways (which wears the rubber unevenly). Lower it again once you’re aligned for the next pass.
Some operators prefer a clockwise or counterclockwise pattern around the room’s perimeter first, then fill in the center with straight passes. Either works — the key is covering every square foot with no gaps.
Step 7: Monitor your tanks
Watch the solution tank level. When it’s empty, you’ll hear the pump change sound (or a warning light activates). Stop, refill, and continue. When the recovery tank is full, you’ll hear the float valve shut off the vacuum, the suction sound stops. Drain the recovery tank, rinse it, and continue. On a large floor, you may need to refill/drain 2–3 times per session.
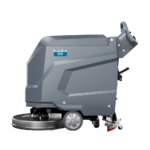
Browse walk-behind scrubbers. → walk behind commercial floor scrubber
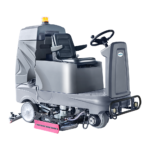
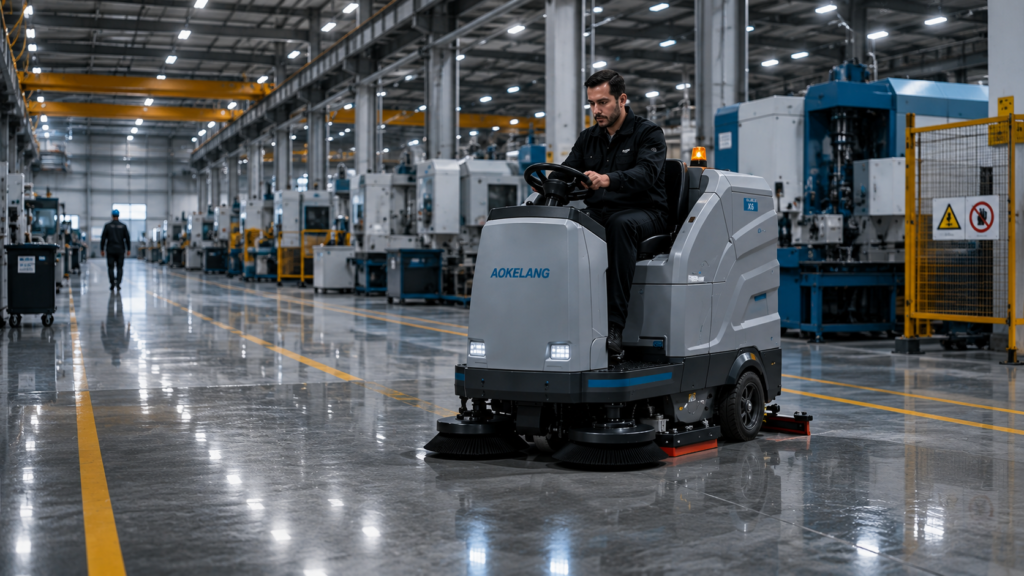
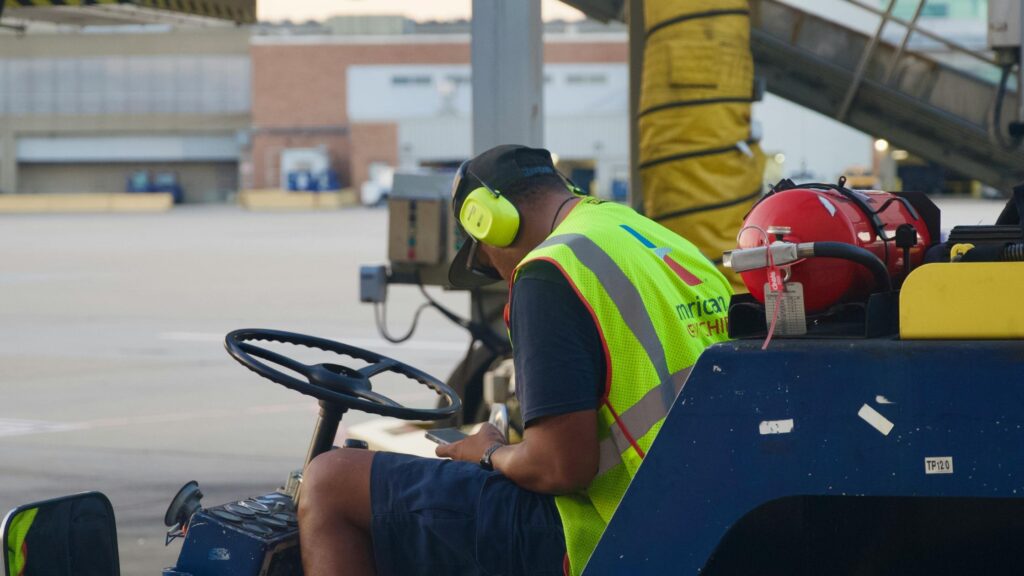
How to Operate a Ride-On Floor Scrubber
A ride-on scrubber operates on the same principles as a walk-behind solution, brush, squeegee, and vacuum, but you’re seated and driving instead of walking. The learning curve is about 30–60 minutes for anyone who’s driven a forklift, golf cart, or car.
Step 1: Adjust the seat and mirrors
Sit comfortably. Adjust the seat so you can reach all controls without stretching. If the machine has side mirrors, angle them so you can see the squeegee behind you; that’s your water pickup indicator.
Step 2: Familiarize yourself with controls
Most ride-on scrubbers have:
- Steering wheel or handlebars
- Speed pedal or throttle (forward and reverse)
- Brush engage button (lowers brush deck and starts rotation)
- Solution flow dial (adjusts water output)
- Squeegee lower/raise toggle
- Vacuum on/off switch
- Dashboard: battery level, hour meter, error indicators
Spend 5 minutes sitting on the machine with everything off, pressing each button and toggle so you know what does what. This prevents the “I accidentally turned off the vacuum for 10 minutes and didn’t notice” problem.
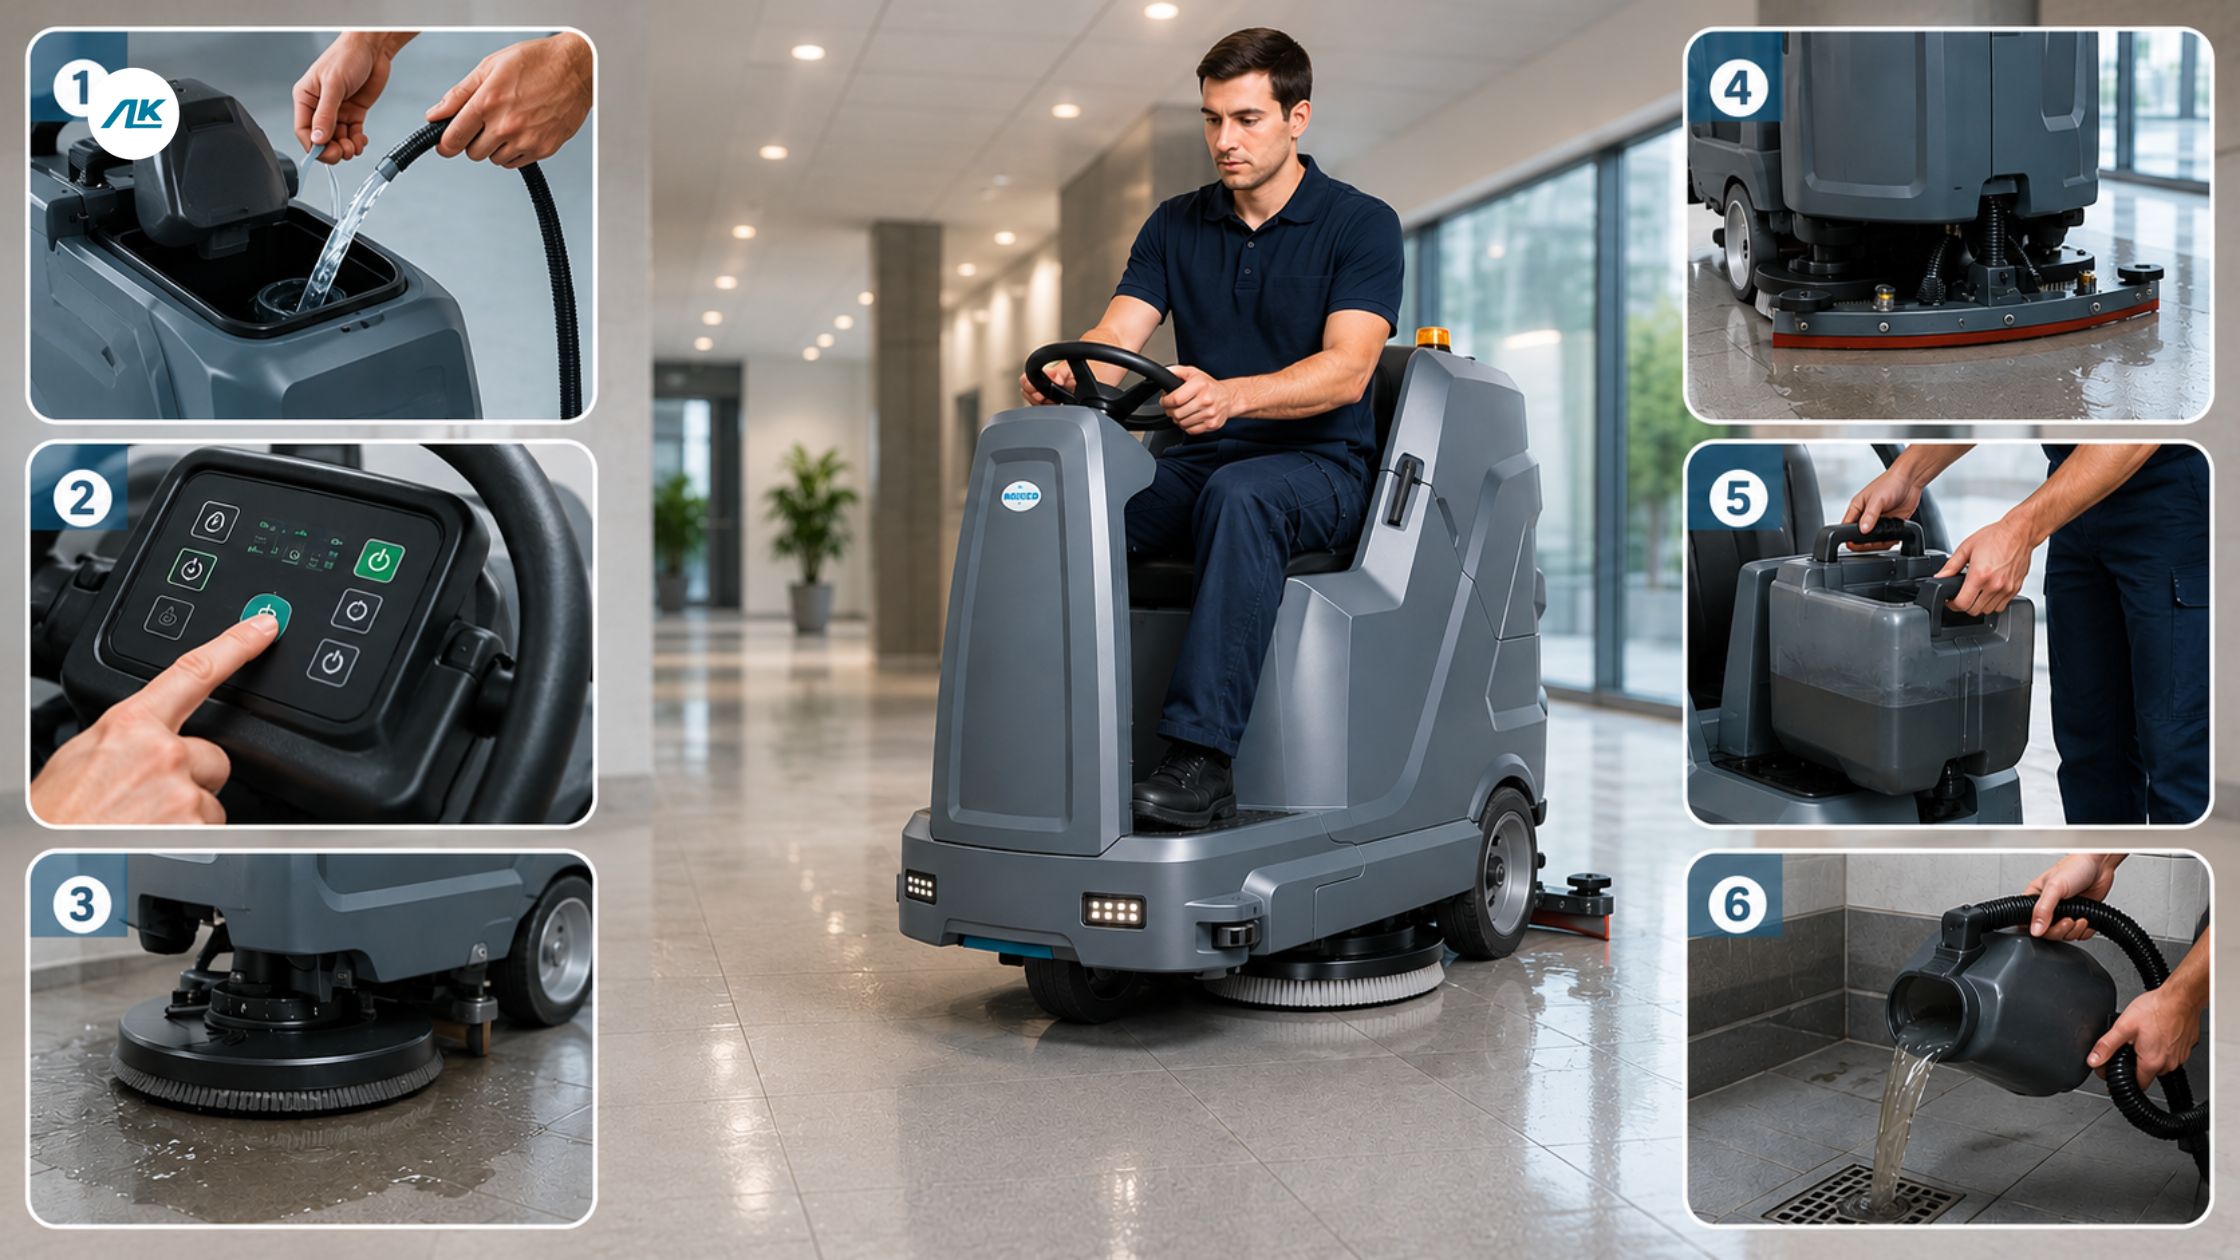
Step 3: Start cleaning
Same sequence as walk-behind: lower brush → start solution → lower squeegee → start vacuum → begin driving. Start at the far point, work toward the exit.
Drive in straight lines. Overlap passes by 3–4 inches (ride-on has a wider deck, so the overlap is slightly larger). At the end of each row, lift the squeegee slightly during turns.
Speed: Ride-ons tempt operators to go fast. Resist. Cleaning speed should be 3–4 mph for daily cleaning. Save higher speeds for very lightly soiled floors. Faster driving = less brush contact time = worse cleaning.
Step 4: Cleaning around obstacles
Columns, racking legs, equipment bases, and ride-ons can’t get as close to obstacles as walk-behinds. Get as close as the machine allows, then plan a walk-behind pass for edges and tight spots later. Trying to force a ride-on into a space it doesn’t fit damages both the machine and the obstacle.
Step 5: Monitor, drain, refill
Same tank management as walk-behind. Ride-ons have larger tanks (20–70+ gallons), so you’ll stop less often. But when the recovery tank is full, the vacuum cuts out automatically. Don’t keep driving without a vacuum — you’re just spreading dirty water.
Need a Machine That’s Easy to Operate?
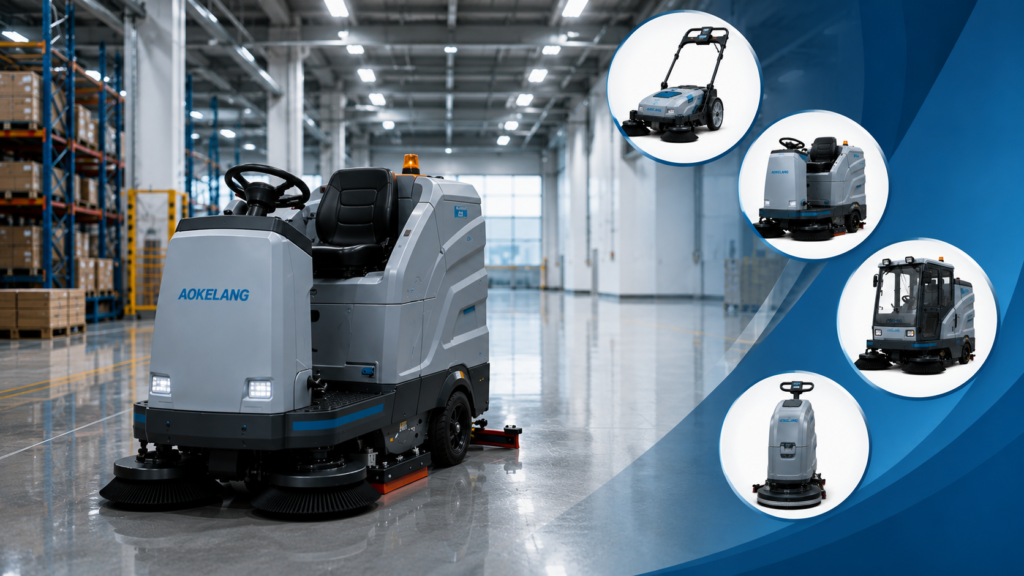
Every Aokelang floor scrubber is designed for non-technical operators. Intuitive controls. Clear dashboard. Simple maintenance. We also provide online training support and operation guides with every machine.
Tell us your facility type and floor area. We’ll recommend a model that your team can learn in 30 minutes and operate confidently from day one. Connect with us and get the newest and latest machines.
Also read – How to Choose a Floor Scrubber
Cleaning Technique by Floor Type
The machine operation is the same. What changes is your pad/brush choice, detergent, and aggressiveness:
| Floor | Pad/Brush | Detergent | Speed | Watch Out For |
| Polished concrete | Disc pad, soft–medium | pH-neutral | Medium | Aggressive pads dull the polish. Lower is safer. |
| Sealed concrete | Disc pad, medium | pH-neutral | Medium | Most forgiving surface. Standard setup works well. |
| Epoxy-coated | Disc pad, soft–medium | pH-neutral | Slow–medium | Aggressive pads scratch epoxy. Use gentle pressure. |
| Raw concrete | Cylindrical brush | pH-neutral + degreaser for oil | Slow–medium | Rough texture. Cylindrical handles it better than disc. |
| VCT (vinyl tile) | Disc pad, medium | pH-neutral | Medium | Most common in schools/offices. Standard pads work. |
| Ceramic tile | Cylindrical brush | pH-neutral | Slow–medium | Grout lines need cylindrical to reach into recesses. |
| Terrazzo | Disc pad, soft | pH-neutral, low-foam | Slow | Scratches extremely easily. Soft pads only. |
| Rubber | Disc pad, soft | Mild, rubber-safe | Slow | Common in gyms/healthcare. Harsh chemicals damage surface. |
If you’re not sure about your floor type, start with the softest pad and pH-neutral detergent. You can always go more aggressive. You can’t unscratch a floor.
Even if you have learnt how to use but do not forget about Floor Scrubber Maintenance.
After You’re Done: The Post-Use Routine (15 Minutes)
This is where most operators fail. The cleaning is done, the floor looks great, and the temptation is to park the machine and walk away. Don’t.
Fifteen minutes of post-use care is the difference between a machine that lasts 10 years and one that dies in 2.
- Drain and rinse the recovery tank with clean water. Leave the lid open to air-dry. (3 min)
- Drain and rinse the solution tank. Flush the solution lines by running clean water through briefly. (2 min)
- Remove the squeegee blades. Wipe clean. Check for damage. Reinstall flush against floor. (3 min)
- Remove the brush or pad. Rinse under water. Stand upright to air-dry — don’t leave face-down. (3 min)
- Pull and rinse the filter screen. (1 min)
- Plug in the charger. Confirm the charging light is on. (1 min)
- Wipe down the machine exterior. (2 min, optional but recommended)
SOURCE: 7–10 year lifespan with maintenance vs 2–3 without — manufacturer data, ISSA
Full maintenance schedule and troubleshooting → Floor Scrubber Maintenance Guide
Post this routine as a laminated checklist next to the machine’s parking spot. Your operators will resist it for about two weeks. After that, it becomes muscle memory, and the machine runs for a decade.
The Seven Mistakes New Operators Always Make
Mistake #1: Too much detergent
More soap ≠ , more clean. It means more foam, which overflows the recovery tank, leaves residue on the floor, and creates a slip hazard. Follow the dilution ratio. Exactly.
Mistake #2: Not overlapping passes
Leaving gaps between scrubbing rows creates strips of uncleaned floor that dry into visible streaks. Overlap every pass by 2–4 inches.
Mistake #3: Driving too fast
The brush needs contact time to break up grime. At full speed, the brush skims the surface. Slow down. A slower first pass beats two fast passes.
Mistake #4: Forgetting to lower the squeegee
You start driving, the brush is spinning, the solution is flowing, and you leave a trail of dirty water because the squeegee is still raised. Always check: brush down, solution on, squeegee down, vacuum on. In that order.
Mistake #5: Running over large debris
Pallet fragments, banding, and shrink wrap clog the squeegee channel and wrap around the brush spindle. Pre-scan the floor and remove anything bigger than a coin.
Mistake #6: Never checking the squeegee
A nicked or worn squeegee blade causes streaking that the operator blames on the machine, the detergent, or the floor. It’s almost always the squeegee. Check it before every use. Flip or replace when worn.
Mistake #7: Skipping the after-use routine
Parking the machine with dirty water in the tanks and wet brushes on the deck. By the next morning, the recovery tank smells like a swamp, the brush has deformed bristles, and the squeegee rubber has hardened in a bent position. Fifteen minutes prevents all of this.
Also read – floor scrubber price guide
Quick Troubleshooting: When Something Goes Wrong
The floor is wet/streaky after scrubbing
Check first: Squeegee blades. Flip or replace if worn. Check alignment; both sides must touch the floor evenly.
Check second: Vacuum suction. Is the filter screen clogged? Is the hose blocked? Listen for a strong suction sound.
Check third: Are you overlapping passes? Gaps between rows cause streaks.
The machine leaves foam on the floor
Cause: Too much detergent. Reduce concentration. Use low-foam floor scrubber detergent only.
Quick fix: Add a few drops of defoamer to the recovery tank. Run a clean-water pass to rinse.
Brush not spinning
Check: Is debris wrapped around the spindle? String, tape, and wire are common culprits.
If clean: Motor issue. Stop using the machine and contact the service.
The machine stops dispensing the solution
Check: Is the solution tank empty? Is the solenoid valve clogged? Flushing the lines with clean water usually clears it.
Bad smell from the machine
Cause: Dirty water left in recovery tank overnight. Drain, rinse thoroughly, soak with white vinegar for 30 minutes, rinse again. Prevention: Drain after every use.
How to Train a New Operator in 30 Minutes
You don’t need a training course. You need 30 minutes and a structured walkthrough.
Minutes 1–5: Machine tour
Show them the solution tank (where water goes), recovery tank (where dirty water collects), brush/pad (what scrubs), squeegee (what channels water), and control panel (what each button does). Name the parts. Let them press each button with the machine off.
Minutes 5–10: Pre-use checklist
Walk through the pre-operation checklist from Section 1 together. Check battery, inspect squeegee, fill solution tank. Explain the dilution ratio. Show them the filter screen.
Minutes 10–25: Supervised operation
Let them operate the machine on a section of the floor while you walk alongside. Coach on: speed (slower), overlap (more), squeegee check (lower it), turning technique (lift squeegee briefly). Correct in real time. Let them do 4–5 passes before stopping.
Minutes 25–30: Post-use routine
Walk through the after-use routine together. Drain tanks, clean squeegee, remove brush, rinse filter, plug in charger. Show them where the checklist is posted.
That’s it. 30 minutes. Most operators are competent after one supervised session and fully independent after three. The operation is simple; the habits (pre-check, overlap, after-use routine) are what need reinforcement.
Frequently Asked Questions on How to Use a Floor Scrubber
How fast should I drive a floor scrubber?
2–3 mph for walk-behinds, 3–4 mph for ride-ons during normal cleaning. Slower on heavily soiled floors. The brush needs contact time to break up grime. One slow pass cleans better than two fast passes.
How much detergent should I put in a floor scrubber?
Follow the manufacturer’s dilution ratio exactly. Typical ratios are 1:64 to 1:128 (1 oz per 4–8 gallons of water). More detergent does NOT mean more clean — it means foam overflow, floor residue, and slip hazards. Use low-foam floor scrubber detergent, not household cleaners.
Why does my floor scrubber leave streaks?
Three common causes: (1) Worn or nicked squeegee blades — flip or replace them. (2) Squeegee not aligned properly — both sides must touch the floor evenly. (3) Not overlapping passes — leave 2–4 inches of overlap between each scrubbing row.
Do I need to sweep before using a floor scrubber?
Yes, if there’s significant dry debris on the floor (pallet scraps, packaging, metal shavings). Large debris clogs the squeegee, wraps around the brush, and can damage the machine. For lightly dusty floors, a cylindrical-brush scrubber can pre-sweep and scrub in one pass.
Can I use bleach in a floor scrubber?
No. Bleach damages rubber seals, corrodes metal components, and can void your warranty. It also doesn’t clean oil or grease effectively. Use pH-neutral floor scrubber detergent for daily cleaning and a compatible degreaser for oily surfaces.
How long does it take to clean a floor with a scrubber?
A walk-behind covers 10,000–30,000 sqft per hour. A ride-on covers 30,000–80,000+ sqft per hour. A 10,000 sqft office takes about 30–45 minutes with a walk-behind. An 80,000 sqft warehouse takes about 1.5–2 hours with a ride-on.
How do I adjust the squeegee on a floor scrubber?
Loosen the squeegee mounting bolts, press the squeegee flat against the floor, and retighten. Both the left and right sides must contact the floor evenly. If one side lifts, it creates a gap and water escapes. Check alignment before every use.
What’s the difference between disc and cylindrical brushes?
Disc brushes (or pad drivers) are flat and circular — best for smooth floors like vinyl, epoxy, and polished concrete. Cylindrical brushes are tube-shaped and spin at high RPM — better for grouted tile, rough concrete, and pre-sweeping dry debris. Most scrubbers accept both types.
Can one operator use a floor scrubber alone?
Yes. Floor scrubbers are designed for single-operator use. Walk-behinds are fully self-contained. Ride-ons are driven solo. No second person is needed unless you’re placing wet floor signs in a high-traffic area during business hours.
How do I clean edges and corners with a floor scrubber?
Floor scrubbers clean the main floor area efficiently but can’t reach tight corners, wall edges, or under fixed furniture. Plan a manual detail pass for edges using a mop or hand scrubber after the machine pass. Some compact walk-behind models get closer to walls than ride-ons.
What do the different colored scrubbing pads mean?
Pad colors indicate aggressiveness. White = polishing (lightest). Red = light scrub (buffing, spray cleaning). Blue = medium scrub (daily cleaning). Green = heavy scrub (deep cleaning). Black = stripping (most aggressive, removes wax/coatings). For daily floor scrubbing, blue or red pads are the standard choice.
Do I need a license or certification to operate a floor scrubber?
No. Floor scrubbers don’t require formal certification like forklifts do. However, your facility may have internal training requirements. A 30-minute walkthrough covering pre-check, operation, and after-use routine is sufficient for most operators.
How often should floor scrubber pads be replaced?
Every 200–500 operating hours, depending on floor roughness and pad aggressiveness. Check the pad before each use — replace when it’s thinner than the minimum wear line or when cleaning results visibly decline despite proper technique. Budget 2–4 pad replacements per year for daily commercial use.