We build floor scrubbers. We also repair them. And we can tell you with absolute certainty: the machines that come back to us broken after 18 months and the machines that run perfectly for 8 years are built on the same assembly line, with the same parts, by the same people. So people come for floor scrubber maintenance.
The difference is what happens after the operator finishes cleaning each day. Fifteen minutes of post-use maintenance. That’s it. That’s the whole secret.
A maintained scrubber lasts 7–10 years. A neglected one dies in 2–3. At $5,000–$15,000 per machine, that’s the most expensive 15 minutes you’ll ever skip.
SOURCE: 7–10 vs 2–3 year lifespan — manufacturer service data, ISSA resources
This guide provides three things: the daily routine your operators should follow, the periodic service schedule for long-term care, and a troubleshooting section for when something goes wrong. Print the checklists. Tape them to the wall next to the machine. Make them non-negotiable.
Table of Contents
New to floor scrubbers? Start with our complete floor scrubber guide
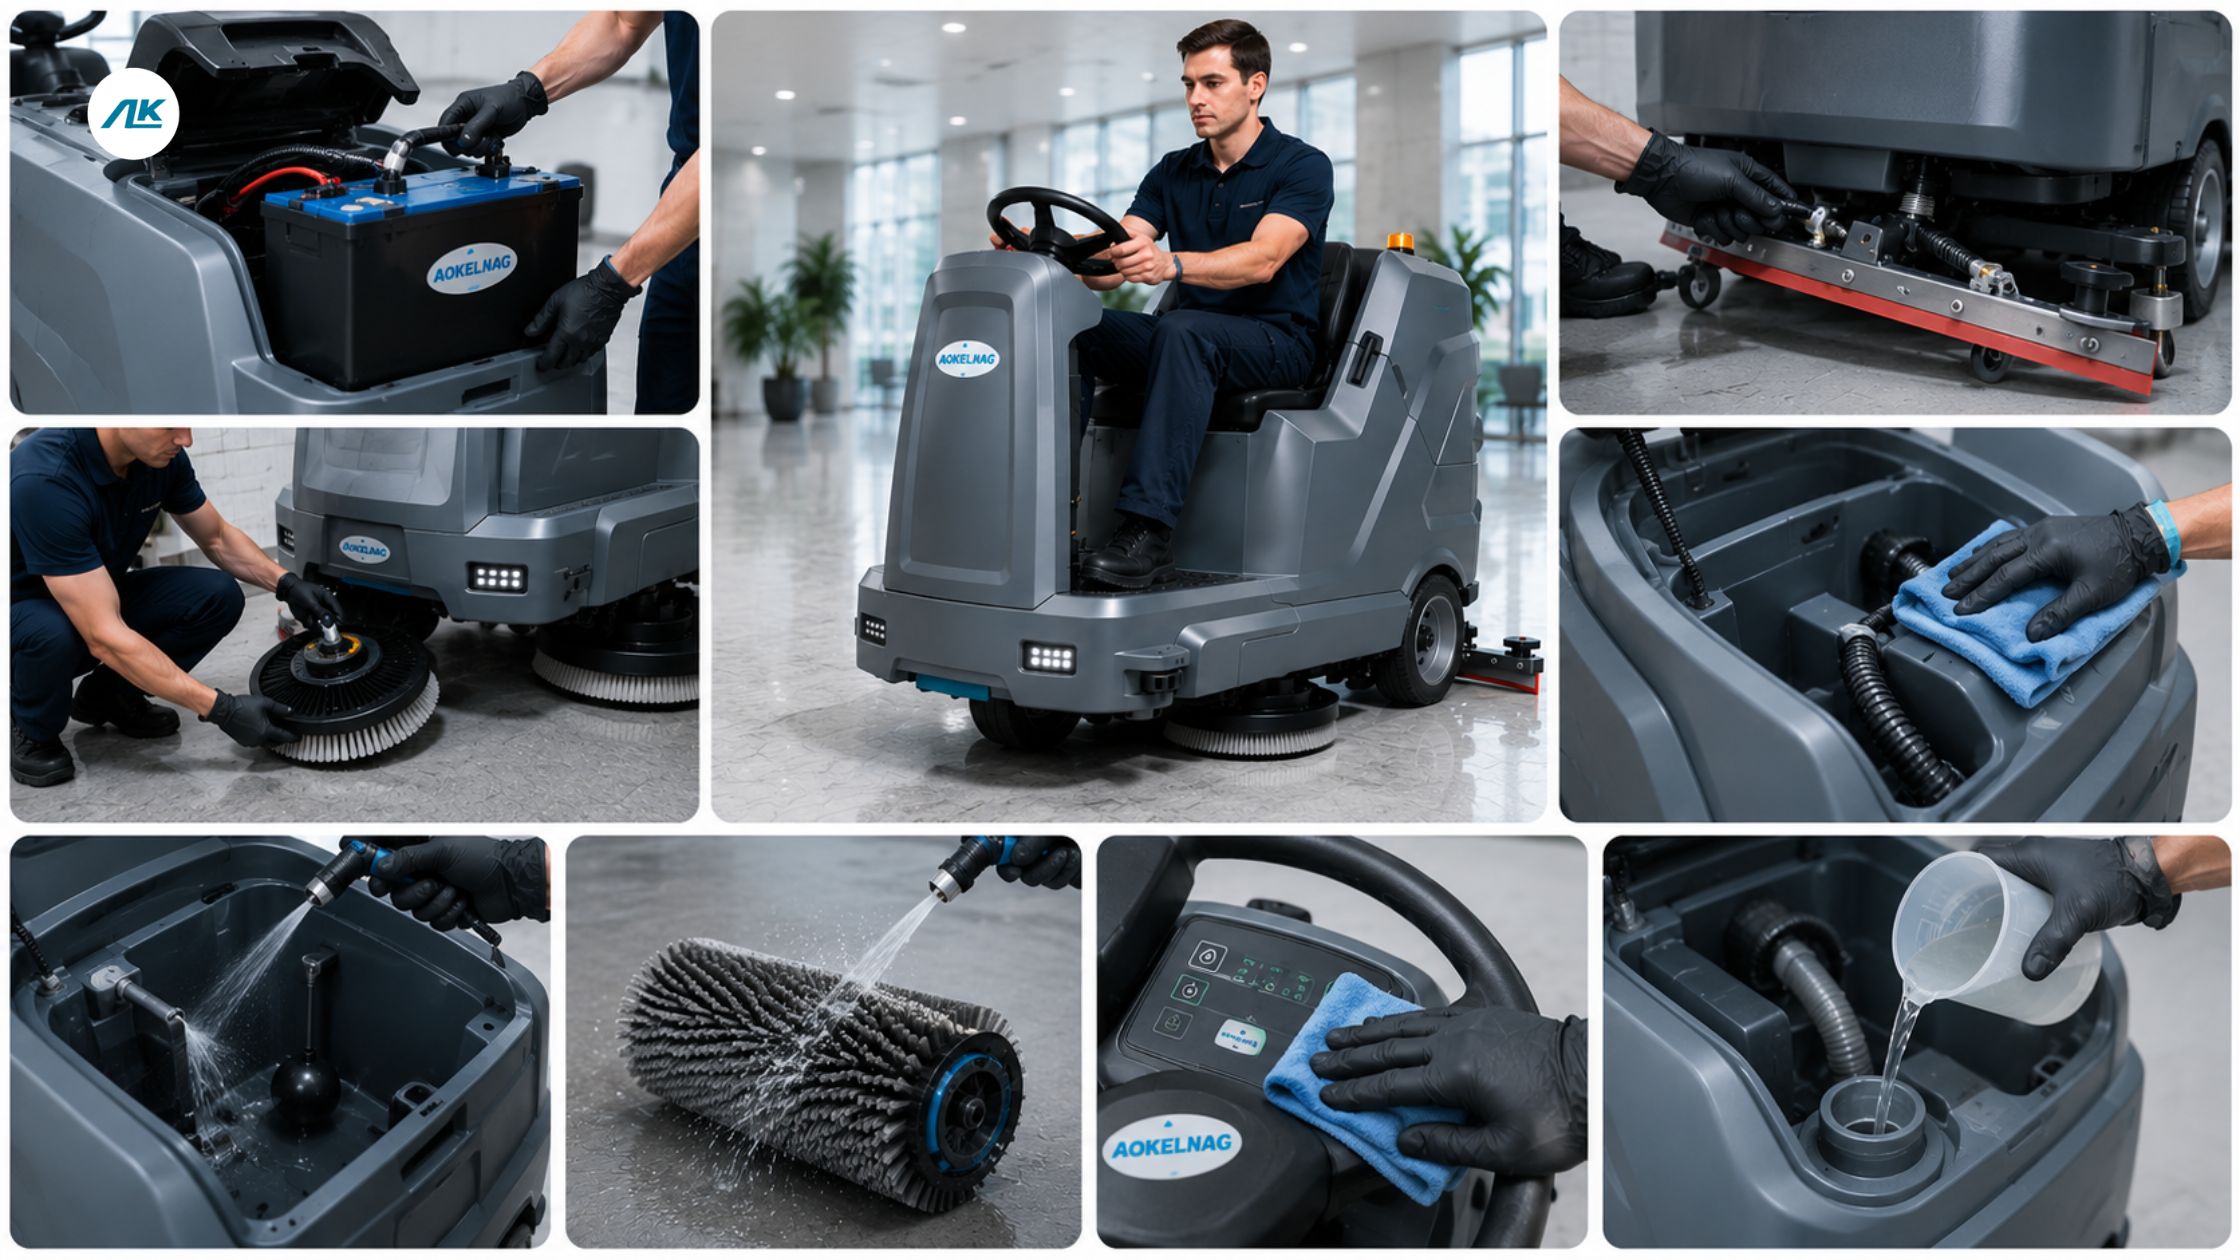
1. The After-Every-Use Routine (15 Minutes, Non-Negotiable)
Do this after every single cleaning session. Not once a week. Not when you remember. Every. Single. Time.
Step 1: Empty and rinse the recovery tank (3 minutes)
The recovery tank holds the dirty water your machine just sucked off the floor. It contains dirt, grease, chemical residue, and bacteria. If you leave it sitting overnight, it starts growing things, and by “things” I mean a smell that will make your next operator gag before they even turn the machine on. If you think the maintenance of the scrubber is high, you can also compare these two sweepers and scrubbers.
Open the drain, let it empty, then rinse the inside with clean water. Let it drain again. Leave the lid open so it can air-dry.
Step 2: Empty and rinse the solution tank (2 minutes)
Even the clean tank needs rinsing. Detergent residue crystallizes inside the tank and feed lines over time, eventually clogging the solenoid valve that controls water flow. A clogged solenoid means the machine stops dispensing solution mid-job. Rinse it. Every time.
Step 3: Remove and clean the squeegee blades (3 minutes)
Pull the squeegee assembly off the back of the machine. Remove both blades (front and rear). Wipe them down with a clean cloth. Look for:
- Nicks, tears, or chunks missing from the rubber edge — these cause streaking.
- Embedded debris (staples, metal shavings, gravel) stuck in the rubber — pick them out.
- Uneven wear on one side — the squeegee may be misaligned.
Replace the blades on the machine. Make sure both sit flush against the floor when the machine is lowered.
Step 4: Remove and inspect the brush or pad (3 minutes)
Pull the brush or pad off the scrub deck. Rinse it under running water to remove dirt and debris. Look for:
- Brush bristles shorter than half their original length — time to replace.
- Disc pads worn thin or shredding — time to replace.
- Debris wrapped around the brush spindle (string, wire, shrink wrap) — cut it off.
Stand the brush or pad upright to air-dry. Don’t leave a wet brush face-down on the floor overnight — it deforms the bristles and creates uneven cleaning on the next use.
Step 5: Clean the filter screen (2 minutes)
The filter screen sits between the recovery tank and the vacuum motor. It catches debris that gets past the squeegee — hair, paper scraps, large particles. If it clogs, the vacuum suction drops, and the floor stays wet.
Pull it out, rinse it under water, shake it dry, and put it back. Takes 30 seconds. Skipping it costs you a vacuum motor.
Step 6: Charge the battery (1 minute to plug in)
Plug in the charger immediately after use. Don’t wait until tomorrow morning. For lead-acid batteries, partial charging causes sulfation — a chemical process that permanently reduces capacity. For lithium, it’s less critical, but a full charge after each use is still best practice.
Also read – Walk-Behind vs Ride-On Floor Scrubber
That’s it. Six steps, 15 minutes. Your operators will resist doing this for about two weeks. After that, it becomes muscle memory. The alternative is a $5,000 replacement machine and the smell of fermented recovery tank water haunting the storage room.
2. Periodic Service Schedule for Floor Scrubber Maintenance
Beyond the daily routine, certain parts need inspection and replacement on a schedule. Here’s the full timeline:
| Interval | What to Do | Parts Needed | Cost |
| Every 50 hours | Inspect squeegee blades for wear. Flip blades if one edge is worn (most blades have 2 usable edges). Check brush/pad wear. | None (unless replacement needed) | $0 (labor only) |
| Every 100 hours | Replace the scrub brush or pad. The exact interval depends on floor type — rough concrete eats brushes faster than polished floors. Check wear indicators on the brush. | Squeegee blades: $15–$50/set | $15–$50 |
| Every 200–500 hours | Replace squeegee blades if both edges are worn. Inspect vacuum hoses for blockages. Check battery terminals for corrosion (lead-acid). Lubricate pivot points per the manual. | Brush/pad: $20–$80 each | $20–$80 |
| Every 6 months | Replace the scrub brush or pad. The exact interval depends on floor type rough concrete eats brushes faster than polished floors. Check wear indicators on the brush. | Replacement hoses if needed: $10–$30 | $0–$30 |
| Annually | Full system inspection. Check solenoid valves, electrical connections, motor brushes (on brush-motor machines), frame for corrosion. Test all safety switches. | Varies by machine age | $50–$200 (parts if needed) |
| Every 2–3 years | Replace lead-acid battery (if applicable). Check motor brushes for wear. Consider full professional service. | Battery: $300–$800 (lead-acid) or $0 (lithium usually lasts 5–7 yrs) | $300–$800 |
SOURCE: Brush replacement every 200–500 hours — manufacturer service guidelines. Battery replacement interval: Battery industry data
Add these intervals to a calendar or maintenance log. The machine’s hour meter tracks operating time. If your machine doesn’t have an hour meter, estimate based on cleaning sessions.
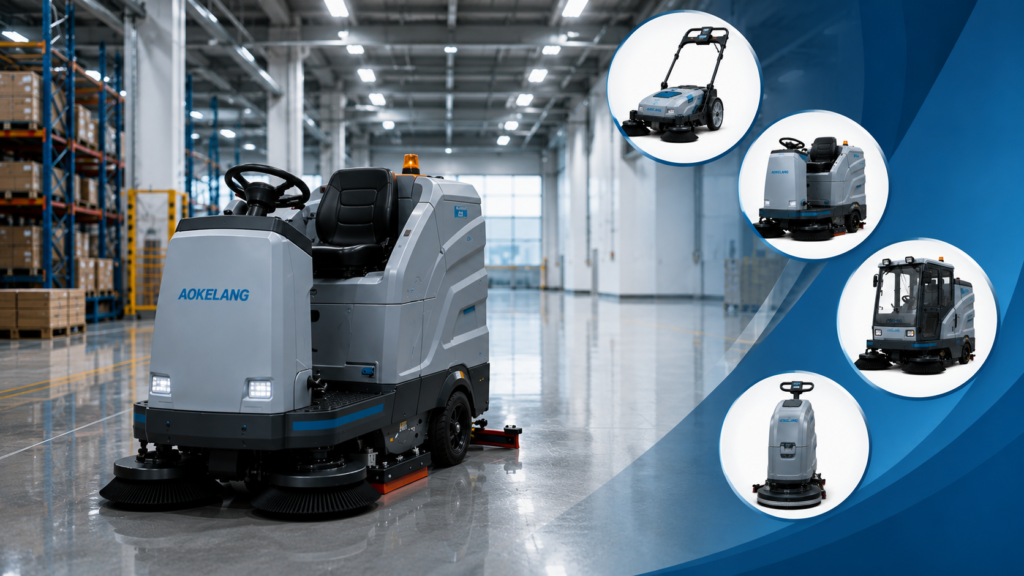
Check out our most saleable scrubbers –
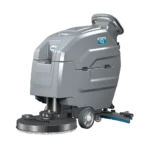
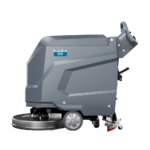
- walk behind floor scrubber
- commercial walk-behind floor scrubber
- industrial walk-behind floor scrubber
3. What Replacement Parts Actually Cost (Annual Budget)
Maintenance isn’t free, but it’s dramatically cheaper than replacement. Here’s what to budget annually for a machine in daily commercial use:
| Part | Replacement Frequency | Cost Per Unit | Annual Cost |
| Squeegee blades | Every 3–6 months | $15–$50/set | $30–$200 |
| Scrub brushes or pads | 2–4 times/year | $20–$80 each | $40–$320 |
| Filters | Every 1–3 months | $10–$30 each | $40–$360 |
| Detergent / solution | Ongoing | $30–$100 per 5-gal concentrate | $120–$600 |
| Battery (lead-acid, amortized) | Every 2–3 years | $300–$800 | $100–$400 |
| Misc (hoses, gaskets, wheels) | As needed | $10–$50 each | $30–$100 |
Total annual maintenance budget: $360–$1,980 depending on machine type, usage intensity, and floor conditions.
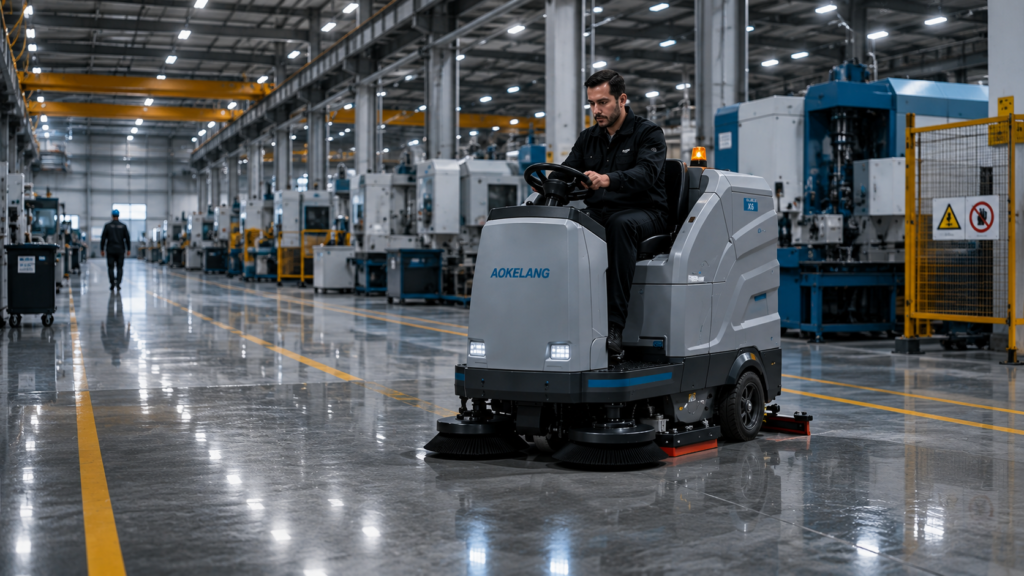
For walk-behinds: $300–$700/year is typical.
For ride-ons: $600–$1,500/year is typical.
Compare that to the cost of replacing the entire machine ($3,000–$20,000) because a $30 squeegee blade wasn’t changed and the vacuum motor burned out from overwork. Maintenance is the cheapest part of owning a floor scrubber.
Must read – Sweeper and Scrubber
4. Troubleshooting: When Something Goes Wrong

Most scrubber “problems” aren’t broken machines. They’re maintenance that was skipped. Here’s the fix for the five most common complaints:
Check out the – Electric floor scrubbers
Problem: Floor is still wet/streaky after scrubbing
Cause 1: Worn squeegee blades. This is the #1 cause. The rubber edge has rounded off or developed nicks, so it can’t channel water properly.
SOURCE: Squeegee wear = #1 cause of streaking — FCE FAQ, manufacturer service data
Fix: Flip the blades (most have two usable edges). If both edges are worn, replace them. Cost: $15–$50.
Cause 2: Squeegee misalignment. The blade isn’t sitting flush against the floor.
Fix: Loosen the mounting, press the squeegee flat against the floor, and retighten. Check that both sides touch evenly.
Cause 3: Clogged vacuum hose or filter. Suction is weak because something’s blocking the airflow.
Fix: Remove the hose and check for blockages. Remove and rinse the filter screen. If suction still feels weak, check the vacuum motor — it may need professional inspection.
Note: Sometimes maintenance depends on the price of the scrubbers.
Problem: The machine leaves foam or soapy residue on the floor
Cause: Too much detergent. The solution is overconcentrated, and the recovery system can’t handle the volume of foam.
Fix: Reduce detergent concentration. Follow the dilution ratio on the detergent label — more soap does NOT mean more clean. Use low-foam floor scrubber detergent, not general-purpose cleaners. If foam is already in the recovery tank, add a few drops of defoamer.
Problem: Foul smell from the recovery tank
Cause: Dirty water was left in the recovery tank after the last use. Bacteria have been breeding in warm, dark, nutrient-rich water. Congratulations, you’ve grown a science experiment.
Fix: Drain and rinse the tank thoroughly. For stubborn odor, fill with clean water and a small amount of white vinegar or tank cleaning solution, let it sit for 30 minutes, then drain and rinse again. In the future: drain and rinse after EVERY use. No exceptions.
Problem: Brush not spinning or spinning slowly
Cause 1: Debris wrapped around the brush spindle. String, wire, packing tape, and shrink wrap are the usual suspects.
Fix: Remove the brush, cut and pull off the wrapped debris, and reinstall.
Cause 2: Brush motor failure or worn motor brushes (carbon brushes inside the motor).
Fix: This requires professional service. If the motor sounds strained or the brush spins inconsistently, stop using the machine until it’s inspected.
Problem: Battery dying earlier than expected
Cause 1: Battery not fully charged after each use. Partial charging causes sulfation in lead-acid batteries, which permanently reduces capacity.
Fix: Always fully charge after every use. For lead-acid, run an equalization charge monthly.
SOURCE: Improper charging reduces lifespan 30–50% — battery industry data
Cause 2: Battery is past its useful life. A 2–3 year old lead-acid battery holds only 50–70% of original capacity.
Fix: Replace the battery. Consider upgrading to lithium if you’re on your second or third lead-acid replacement.
5. Print This Checklist and Tape It to the Wall
Here’s the daily routine in a format you can print and post next to the machine. Laminate it. Make every operator sign off on it daily. This is the single highest-ROI maintenance practice in your entire operation.
| ☐ | AFTER EVERY USE — DAILY CHECKLIST | Time |
| ☐ | Drain and rinse the solution tank. | 3 min |
| ☐ | Plug in charger. Confirm the charging light is on. | 2 min |
| ☐ | Remove squeegee blades. Wipe clean. Check for nicks and embedded debris. | 3 min |
| ☐ | Remove brush/pad. Rinse. Check for wear. Stand upright to dry. | 3 min |
| ☐ | Wipe down the machine exterior (optional but recommended). | 1 min |
| ☐ | Remove and rinse the filter screen. | 1 min |
| ☐ | Wipe down machine exterior (optional but recommended). | 2 min |
| TOTAL | ~15 min |
If an operator says they don’t have 15 minutes, remind them that the machine they’re neglecting costs more than three months of their salary. The 15 minutes is not optional.
Need Parts or Technical Support?
Every Aokelang floor scrubber comes with a 1-year warranty and access to online technical support. We stock replacement squeegees, brushes, pads, filters, and batteries for all 20+ models — and we ship parts internationally.
If something’s going wrong with your machine, contact us and send us a photo or a description of the problem. Our technical team typically responds within 24 hours with a diagnosis and a parts recommendation.
Also read – Floor scrubber vs Floor sweepers
Frequently Asked Questions
How often should a floor scrubber be serviced?
Daily: drain both tanks, clean squeegees and brushes, charge battery (15 minutes). Every 100 operating hours: replace squeegee blades, inspect vacuum system, check battery terminals. Every 200–500 hours: replace scrub brush or pad. Every 6 months: deep-clean entire machine, flush solution lines. Annually: full inspection of motors, valves, and electrical connections.
How do I know when to replace my floor scrubber’s squeegee?
Flip the squeegee blade when one edge shows visible wear (rounded, nicked, or uneven). Replace the blade entirely when both edges are worn. Physical signs: water streaks on the floor after scrubbing, reduced suction noise, or visible damage to the rubber. Most squeegee sets last 3–6 months of daily commercial use.
How do I know when to replace the scrub brush?
Check the wear indicator markings on the brush (most commercial brushes have them). Replace when bristles are 50% shorter than original length or when cleaning results visibly degrade. For disc pads, replace when pad thickness drops below the minimum line. Typical lifespan: 200–500 operating hours depending on floor surface roughness.
Why does my floor scrubber leave water on the floor?
The three most common causes: (1) Worn squeegee blades — flip or replace them. (2) Squeegee misalignment — loosen, press flat against floor, retighten. (3) Clogged vacuum hose or filter screen — remove and clear the blockage. These three fixes solve the problem 90% of the time.
Why does my floor scrubber smell bad?
Dirty water was left sitting in the recovery tank. Bacteria grow rapidly in warm, dark, chemical-laden water. Fix: drain and rinse the recovery tank after every use. For existing odor, soak with white vinegar or tank cleaning solution for 30 minutes, then rinse thoroughly. Prevention is easier than treatment.
How much does floor scrubber maintenance cost per year?
Budget $300–$700/year for a walk-behind and $600–$1,500/year for a ride-on. This covers squeegee blades ($30–$200/yr), scrub brushes ($40–$320/yr), filters ($40–$360/yr), and detergent ($120–$600/yr). Battery replacement adds $100–$400/yr amortized for lead-acid. These costs are a fraction of what you’d spend replacing the machine due to neglect.
Can I use any detergent in my floor scrubber?
No. Use only low-foam floor scrubber detergent at the manufacturer’s recommended dilution ratio. General-purpose cleaners, dish soap, and bleach produce excessive foam that overwhelms the recovery system, damages seals, and can void your warranty. Always use pH-neutral detergent for daily cleaning and a compatible degreaser for oily floors.
How long does a floor scrubber last with proper maintenance?
A properly maintained commercial floor scrubber lasts 7–10 years. The daily 15-minute after-use routine is the single most important factor. Machines that skip daily maintenance consistently fail within 2–3 years — not because of manufacturing defects, but because dirty tanks corrode, clogged systems burn out motors, and neglected batteries die.
What should I do if my floor scrubber brush stops spinning?
First, remove the brush and check for debris wrapped around the spindle (string, wire, tape). Clear it and reinstall. If the brush still doesn’t spin, the brush motor or its carbon brushes may be worn. Stop using the machine and contact the manufacturer or a certified technician for inspection.