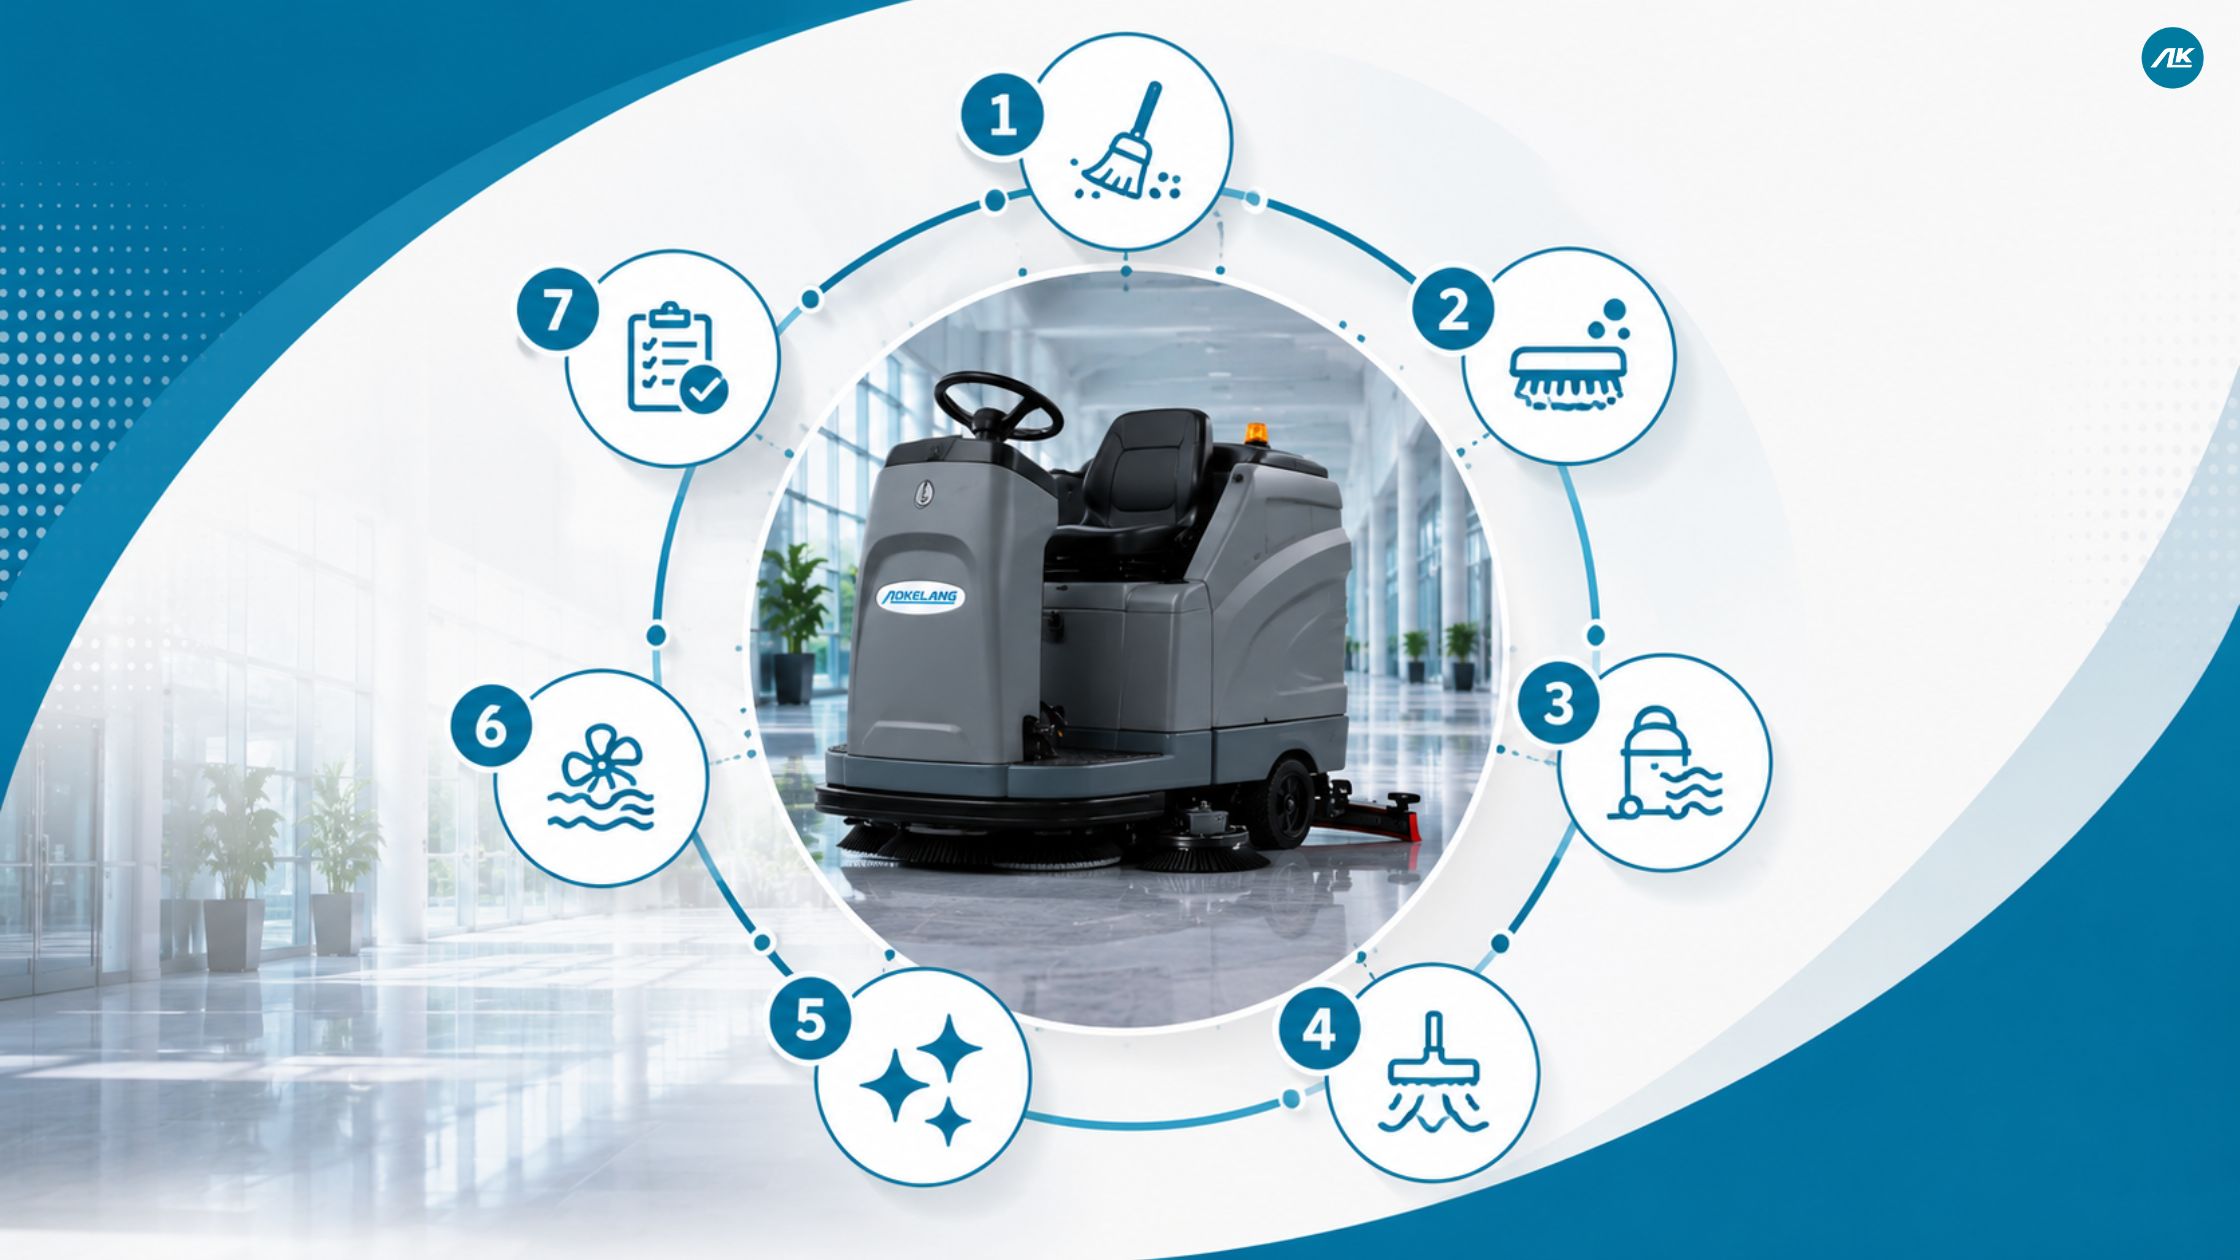
The 7-step cleaning process is a standardized method used in commercial and industrial facilities to ensure thorough, consistent, and safe cleaning every time. The seven steps are: (1) Preparation, (2) Pre-Cleaning Inspection, (3) Dry Debris Removal — sweeping, (4) Surface and Floor Scrubbing, (5) Sanitizing and Disinfecting, (6) Final Inspection, and (7) Completion and Signage. Followed in sequence, this process eliminates guesswork, reduces cleaning time, improves hygiene outcomes, and ensures no area is missed — regardless of who is doing the cleaning or how large the facility is.
Whether you manage a warehouse, a food production facility, a hospital, a retail space, or a commercial office building, the fundamental challenge of cleaning is always the same: how do you deliver a consistent, high-quality result across a large, complex space, every single shift, without relying entirely on individual operator judgment?
The answer the commercial cleaning industry has converged on is the 7-step cleaning process a structured, sequential approach that turns cleaning from a variable, improvised activity into a repeatable operational procedure.
This guide walks through each step in detail, explains the reasoning behind the sequence, and covers the equipment particularly floor sweepers and floor scrubbers — that makes the critical floor cleaning steps faster, more effective, and more consistent at scale.
Table of Contents
Why Does Sequence Matter in Commercial Cleaning?
Before getting into the steps, it’s worth understanding why the order matters.
Commercial cleaning is a top-down, dry-before-wet, debris-before-liquid process. Each step sets up the next. Sweeping before scrubbing prevents dry debris from turning into muddy sludge that clogs equipment and smears across the floor. Inspecting before cleaning means damages are identified before a mop or scrubber passes over them. Sanitising after scrubbing means the surface is clean of physical soil before disinfectant is applied, which is essential because disinfectants are far less effective on dirty surfaces.
Skip a step, or do them out of order, and the downstream steps either underperform or create additional problems. The sequence isn’t arbitrary — it reflects how contamination, soil, and cleaning chemistry actually work together.
Step 1: Preparation
Every effective cleaning operation starts before a single surface is touched.
Preparation involves assembling all necessary equipment and supplies before entering the space to be cleaned. This means checking that:
- Floor sweepers and scrubbers are charged, filled, and mechanically ready
- Cleaning solution is mixed at the correct concentration for the surface and soil type
- PPE (personal protective equipment) is available and worn where required
- Wet floor signs and barrier tape are on hand
- Replacement consumables — brush pads, squeegee blades, mop heads — are accessible if needed mid-shift
Preparation is often the step that gets cut short under time pressure, and it’s consistently the step whose absence causes the most disruption. An operator who discovers mid-shift that the floor scrubber battery hasn’t been charged, or that the cleaning solution tank is empty, loses far more time fixing the problem than the preparation would have taken.
For facilities running multiple machines, preparation includes confirming that machines are correctly maintained — tanks rinsed, squeegee blades intact, filters cleared — tasks that prevent both equipment failures and hygiene failures during the cleaning run.
Step 2: Pre-Cleaning Inspection
Before cleaning begins, the space should be inspected systematically.
A pre-cleaning inspection serves several purposes:
- Identifies hazards — damaged flooring, exposed cables, spills, broken equipment — that need to be addressed before cleaning machinery moves through the space
- Flags areas needing extra attention — high-soil zones, grease patches, heavy debris accumulation in specific areas
- Documents condition — in regulated environments, the pre-clean state may need to be logged for audit and compliance purposes
- Prevents damage — discovering a floor crack or a chemical spill before a ride-on scrubber passes over it prevents equipment damage and potential safety incidents
This step is particularly important in industrial environments, factories, logistics hubs, food processing plants, where the floor condition can change significantly between cleaning cycles due to operational activity. The inspection is what makes the cleaning responsive to actual conditions rather than just running a fixed routine regardless of what’s on the floor.
Also read – How to use a floor scrubber
Step 3: Dry Debris Removal — Sweeping
This is one of the two steps where floor cleaning machines make the most dramatic difference to commercial operations, and it must happen before any wet cleaning begins.
Dry sweeping removes dust, loose debris, packaging waste, grit, and coarse soil from the floor surface. The principle is straightforward: if dry debris is left on the floor when a wet scrubber runs over it, the water turns it into sludge — a muddy, abrasive mixture that reduces scrubber effectiveness, can damage brush pads, clogs the recovery tank, and smears across the floor rather than being removed. Pre-sweeping prevents dust and particles from mixing with water and forming sludge, which reduces cleaning efficiency and may damage equipment.
Daily dry sweeping also removes up to 80% of dry particulate soils before any wet cleaning begins — which means the scrubbing step that follows needs less solution, less brush pressure, and fewer passes to achieve a clean result.
For small areas with limited debris, manual brooms or compact push sweepers handle the dry removal pass adequately.
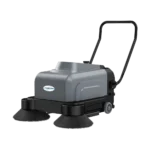
For medium and large commercial spaces — retail floors, office buildings, schools — a walk-behind floor sweeper covers the area significantly faster than manual sweeping while collecting debris into a hopper rather than redistributing it.
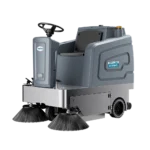
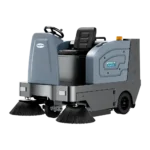
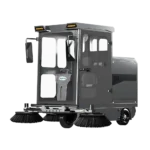
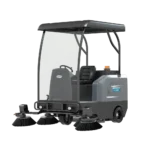
For large industrial environments — warehouses, distribution centres, manufacturing plants, outdoor hardstanding — a ride-on floor sweeper is the appropriate tool. Ride-on sweepers cover several thousand square metres per hour, handle heavy debris volumes including packaging materials, grit, and industrial waste, and do so without operator fatigue. For warehouse environments in particular, the volume and type of debris generated daily makes a dedicated warehouse sweeper machine the right starting point for any cleaning cycle.
The sweeping step in a large industrial facility isn’t optional or cursory — it’s foundational. Scrubbing a floor that hasn’t been properly swept first forces the scrubber to work against both embedded soil and loose debris simultaneously, compromising the result on both fronts.
Step 4: Floor Scrubbing — Deep Cleaning the Surface
This is the heart of the 7-step cleaning process for floor maintenance, and the step where the difference between professional machine cleaning and manual mopping is most pronounced.
Floor scrubbing follows the sweeping step and addresses what sweeping cannot: embedded grime, oil residue, surface staining, bacterial contamination, and any soil that requires water, agitation, and solution to lift.
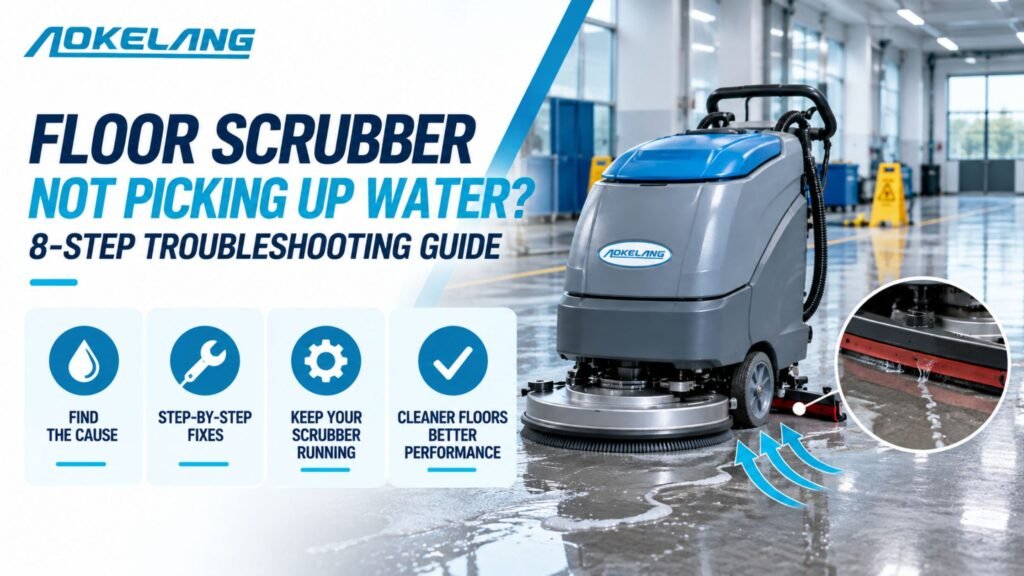
A professional floor scrubber applies clean solution, agitates the surface with rotating brushes or pads, and immediately recovers the dirty water through a squeegee and suction system — all in a single pass. The floor is left clean and nearly dry within minutes.
What to use for scrubbing by facility type:
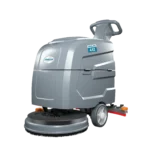
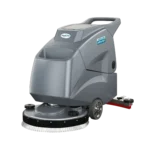
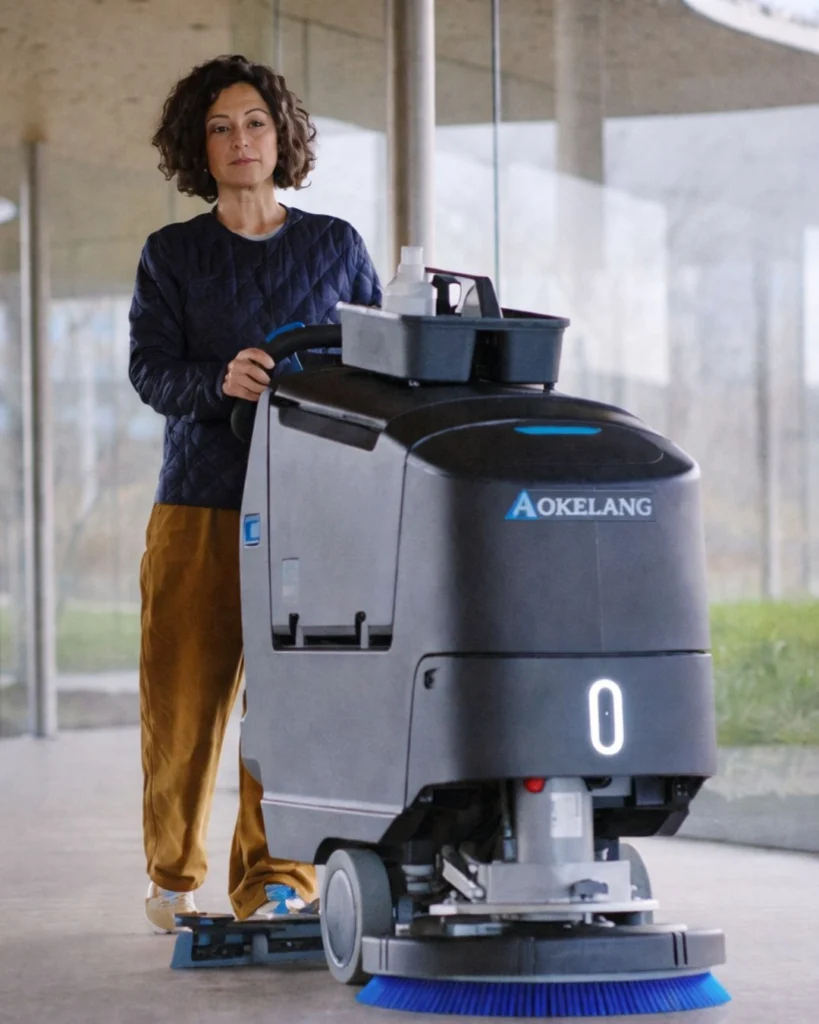
For standard commercial environments — retail, hospitality, healthcare, schools — a walk-behind floor scrubber handles the job efficiently. Walk-behind models are compact, highly manoeuvrable around fixtures and furniture, and straightforward to operate.
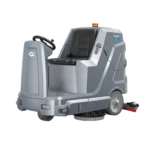
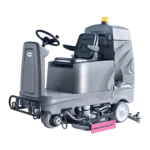
For large open floor areas where productivity is the priority — distribution centres, airports, shopping malls — a ride-on floor scrubber covers the ground several times faster, without operator fatigue affecting the consistency of the clean toward the end of the shift.
For the most demanding industrial environments — factories, automotive plants, food production facilities, heavy manufacturing — an industrial floor scrubber machine is built for the heavier soiling loads, industrial cleaning agents, and continuous daily operation that lighter commercial machines aren’t designed to handle.
For facilities with consistent, large floor areas and a need to reduce operator dependency, automatic floor scrubbers increasingly handle this step autonomously or semi-autonomously, maintaining a consistent clean cycle without continuous operator involvement.
Key scrubbing technique principles:
- Work in methodical, overlapping passes to ensure full coverage
- Adjust brush pressure to the soil level — heavier soiling needs more pressure; delicate coatings need less
- Ensure the solution tank has sufficient capacity to complete a section without mid-run refilling
- Check that the squeegee is recovering water cleanly — a trailing water streak behind the machine means a squeegee problem that should be corrected before continuing
Step 5: Sanitizing and Disinfecting
Floor scrubbing removes physical soil — the dirt, grime, grease, and debris that cleaning addresses. Sanitising and disinfecting address microbial contamination: bacteria, viruses, and pathogens that may remain on surfaces even after visible soil is removed.
These are distinct processes:
- Cleaning removes dirt and reduces surface contamination
- Sanitising reduces microbial load to safe levels defined by public health standards
- Disinfecting kills a defined proportion of pathogens — specified by the product’s EPA approval or equivalent regulatory classification
The order is non-negotiable: disinfectants perform significantly worse on dirty surfaces. The physical soil from the scrubbing step must be removed before disinfectant is applied — which is why sanitising always follows scrubbing rather than replacing it.
In most commercial environments — retail, offices, schools — regular scrubbing with an appropriate cleaning solution achieves adequate hygiene for daily operations. Disinfection as a distinct step is most critical in:
- Healthcare facilities (hospitals, clinics, aged care)
- Food processing and food service environments
- High-touch areas in any facility — restrooms, canteens, reception desks
- Any space subject to a confirmed contamination event
The sanitising step focuses on high-touch surfaces — door handles, light switches, countertops, shared equipment — as well as the floor surfaces in highest-contact zones. Application is typically via microfibre cloth, trigger sprayer, or electrostatic sprayer for large surface areas.
Step 6: Final Inspection
The final inspection closes the loop on quality. It’s the point at which the cleaning is evaluated against the standard before the space is re-opened for use.
An effective final inspection covers:
- Floor condition — are all areas visibly clean? Is there any streaking, missed sections, or residual water that indicates a squeegee issue?
- Surface coverage — have all required surfaces been cleaned, sanitised, and dried?
- Equipment condition — are machines stored correctly, tanks emptied and rinsed, squeegees wiped and left to dry?
- Damage reporting — any new damage observed during cleaning should be logged and reported at this stage, not left until the next cycle when it may have worsened
- Compliance documentation — in regulated environments, the completion of the inspection should be recorded with the time, operator, and any observations noted
The final inspection is what distinguishes a professional cleaning operation from a perfunctory one. Without it, missed areas remain missed until someone notices during operational hours, by which point the opportunity to address it cleanly has passed.
Also read – commercial floor scrubber
Step 7: Completion and Signage
The final step formalises the end of the cleaning cycle and ensures that the transition from a cleaned space back to operational use is managed safely.
Key elements of completion:
- Wet floor signs placed at all entry points to any area where floors remain damp — even with fast-drying scrubbers, sign placement is a non-negotiable safety and liability requirement
- Equipment storage — machines returned to their charging stations, solution tanks refilled or rinsed as required by protocol, consumables restocked for the next shift
- Barrier removal — once floors are confirmed dry, wet floor signs and any temporary barriers are removed
- Shift handover notes — any issues identified during the cleaning cycle (equipment faults, floor damage, areas requiring follow-up) communicated to the next shift or facilities management
For facilities running 24-hour operations, this step also involves coordinating the cleaning completion with operational teams to minimise the window between floor cleaning and the resumption of traffic through the space.
The 7-Step Process Across Different Facility Types
The core sequence is consistent, but the emphasis, tools, and standards shift significantly between environments.
Warehouses and Distribution Centres
The sweeping step is critical and usually requires a dedicated ride-on floor sweeper given the volume of packaging debris, dust, and grit generated. The scrubbing step follows with a ride-on floor scrubber capable of covering the large open floor areas without operational disruption. Sanitizing focus is on the canteen, restroom, and high-touch areas rather than the full warehouse floor
Food Production and Processing
All seven steps are performed to a higher standard than in most other environments. The scrubbing step typically uses an industrial floor scrubber machine rated for food-safe cleaning agents, and the sanitizing step is a formal disinfection protocol that covers all floor and wall surfaces in production zones. Documentation at every step is required for regulatory compliance.
Healthcare
Hygiene standards are the highest of any environment. The disinfection step is performed with EPA-approved or equivalent products at correct dilutions and dwell times. Floor scrubbing uses machines that leave floors dry quickly to maintain safe access to patient areas. High-touch surface disinfection is performed multiple times daily in high-risk zones.
Retail and Commercial Spaces
The focus is on presentation as much as hygiene. Scrubbing — using a walk-behind floor scrubber in most retail settings — delivers the clean, consistent floor appearance that reflects on the business’s brand. The 7-step cycle is typically performed outside trading hours to avoid disruption.
Manufacturing and Industrial Facilities
Sweeping handles heavy debris volumes before any wet cleaning begins. The scrubbing step addresses oil, grease, and chemical residue that accumulates on production floors. Electric floor scrubbers are preferred in enclosed industrial environments where exhaust fumes from petrol or LPG machines would create a safety or air quality issue.
Building the 7-Step Process Into Your Operation
The 7-step cleaning process works best when it’s formalised — turned into a documented cleaning schedule with assigned responsibilities, equipment specifications, and inspection sign-off requirements.
For facilities new to structured cleaning protocols, the starting point is usually:
- Map your facility — identify all areas, their floor types, typical soil levels, and hygiene requirements
- Assign the right equipment to each step — particularly sweeping and scrubbing, where machine selection directly determines the quality and speed of the result
- Set cleaning frequencies — daily sweeping and scrubbing for high-traffic and high-soil areas; weekly or periodic deeper clean cycles for lower-traffic zones
- Train operators on the sequence and on the specific machines in use
- Build in the inspection step — without a completion check, standards drift over time as missed areas and shortcuts accumulate unnoticed
The process scales from a small commercial space cleaned by one person with a compact walk-behind scrubber to a multi-site industrial operation with ride-on sweepers and scrubbers running overnight shifts across hundreds of thousands of square metres. The sequence remains the same. The equipment changes to match the scale.
Also read – Commercial floor sweeper
Matching Your Equipment to the Process
Getting the 7-step process right depends heavily on having the right tools for Steps 3 and 4 — the sweeping and scrubbing steps where floor cleaning machines do the work that manual methods cannot match at scale.
For sweeping, explore the floor sweeper machine range — from compact walk-behinds for smaller commercial spaces to heavy-duty ride-on industrial sweepers for large facilities.
For scrubbing, the floor scrubber machine range covers every scale: walk-behind models for commercial spaces, ride-on scrubbers for large open areas, industrial machines for demanding environments, and automatic models for facilities requiring consistent results with reduced operator input.
Browse the full commercial floor cleaning machines range to compare options across both categories and find the combination that fits your facility’s size, soil type, and cleaning frequency requirements.
Frequently Asked Questions
Why is sweeping important before floor scrubbing?
Sweeping removes loose dust, grit, and debris before wet cleaning begins. If debris remains on the floor, scrubbing can turn it into sludge, reduce cleaning efficiency, clog machines, and potentially damage scrubber brushes or recovery systems.
What is the difference between cleaning, sanitizing, and disinfecting?
Cleaning removes visible dirt, grease, and contaminants. Sanitizing reduces bacteria and microbial levels to safer standards, while disinfecting kills specific pathogens such as viruses and bacteria. Disinfecting should always occur after cleaning because disinfectants work poorly on dirty surfaces.
Which machines are best for commercial floor cleaning?
The best machine depends on facility size and cleaning requirements. Walk-behind floor sweepers and scrubbers work well for smaller commercial spaces, while ride-on sweepers and scrubbers are more suitable for warehouses, factories, and large industrial facilities requiring higher productivity.
How often should the 7-step cleaning process be performed?
Cleaning frequency depends on traffic levels, industry standards, and contamination risks. High-traffic areas like warehouses, hospitals, and retail spaces may require daily cleaning, while lower-use areas may only need periodic deep cleaning.
Why is the final inspection step necessary in commercial cleaning?
Final inspections help identify missed areas, streaks, standing water, equipment issues, or damage. They ensure cleaning standards are met consistently and support compliance documentation in regulated industries.
Is the 7-step cleaning process suitable for all facility types?
Yes. The same sequence applies across warehouses, healthcare facilities, food production plants, retail spaces, offices, and manufacturing environments. However, cleaning frequency, hygiene standards, and equipment vary depending on the industry.